 Birch Bay Siding
 Building New in Sumas? The Windows Are Where Most Callbacks Start
When you're framing a new home, windows feel like a small line item compared to the foundation or the roof. In practice, they're one of the highest-risk details on the job. A window opening is a hole cut through your weather-resistive barrier, and every seam around that hole has to be sequenced correctly or water finds its way in — sometimes not until year three or four, well after the builder has moved on to the next lot. In Whatcom County, where driving rain off the Strait blows sideways for days at a stretch and moss and algae colonize any surface that stays damp, that margin for error is smaller than it is in drier climates. We install new-construction windows for homes going up in and around Sumas, working directly with builders and homeowners during the framing stage, and we treat the flashing and sealing sequence as the actual scope of work — not an afterthought to setting the unit in the rough opening.
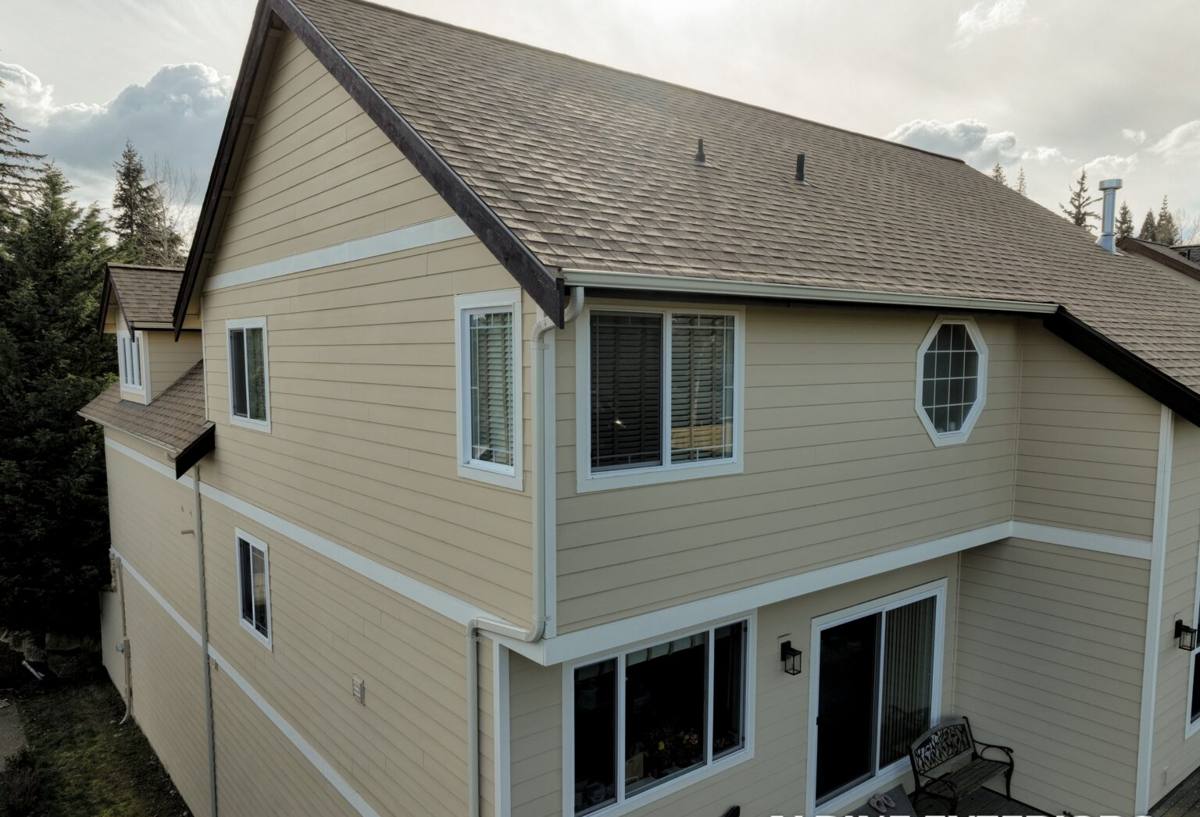
What "New-Construction" Windows Actually Means
New-construction windows are different from replacement windows in one important way: they have a nailing flange (also called a nail fin) around the perimeter of the frame, designed to be fastened directly to the sheathing before siding goes on. That flange is your primary attachment point and, done right, part of your drainage plane. It's a completely different installation method than a pocket replacement window going into an existing, finished wall — and it's the method that gives you the best long-term seal, because the window becomes fully integrated into the building's water management system rather than sitting inside an old opening.
For a Sumas-area new build, that means we're usually on site before siding is installed, coordinating around the framer's and the weather-barrier contractor's schedule so the rough openings, the housewrap, and the window install all happen in the right order.
Why the Order of Operations Matters
Every layer around a window opening has to shed water downward and outward, like shingles on a roof. Get the sequence backward — housewrap taped over the top flange instead of under it, for example — and you've built a shelf that catches water instead of shedding it. It won't show up at final walkthrough. It shows up as a stain on the drywall below a window a few winters later, after Whatcom County's wet season has had enough cycles to find the mistake.
What Correct Installation Involves
There's no shortcut version of this that holds up under our rain patterns. The steps we follow on every new-construction window opening:
- Rough opening check. Confirm the opening is square, plumb, and sized correctly before the window ever shows up — catching a framing error now is a phone call, not a change order later.
- Sill pan flashing. A sloped, sealed pan at the bottom of the opening so any water that gets past the window has somewhere to go — out, not into the wall cavity.
- Jamb (side) flashing. Applied over the edges of the sill pan, so water is directed down onto the pan, not behind it.
- Window set and fastened. Unit shimmed level and plumb, fastened through the nailing flange per the manufacturer's schedule — not just at the corners.
- Head flashing. Installed last, lapping over the top nailing flange so it sheds water onto the housewrap below rather than behind it.
- Housewrap integration. The weather-resistive barrier is lapped and taped in the correct shingle-style order over all of the above — this is the step that gets rushed on production schedules, and the one we don't rush.
- Interior and exterior sealant. Backer rod and sealant where called for, leaving the bottom of the window unsealed on the exterior so any incidental moisture can still drain out through the sill pan.
Window Selection for Whatcom County's Climate
New construction gives you a real choice in window products, which replacement projects don't always allow. For homes in the Birch Bay and Sumas area, the frame material decision usually comes down to three factors: how the unit performs against sustained wind-driven rain, how it holds up to years of damp, low-sun conditions without maintenance, and whether it meets Washington State Energy Code requirements for your climate zone.
| Frame Material | Moisture Performance | Maintenance | Typical Fit for New Builds |
|---|---|---|---|
| Vinyl | Good — won't rot, but relies on quality corner welds and drainage design | Low | Most common choice for cost-conscious new construction |
| Fiberglass | Excellent — dimensionally stable, resists warping in wet-dry cycles | Low | Strong option where budget allows; holds paint well if color changes are wanted later |
| Wood-clad | Good exterior protection, but any cladding breach exposes wood beneath | Higher — exterior clad, interior wood needs periodic attention | Chosen for interior wood aesthetic; needs disciplined caulk maintenance given our rain totals |
| Aluminum | Poor thermal performance, prone to condensation in our climate | Low | We generally steer builds away from it here — condensation and heat loss outweigh the durability upside |
We're not tied to one brand, and we'll talk through options with your builder or your own preferences. What we do insist on is checking the NFRC label on any unit before it goes in — U-factor and SHGC ratings have to meet Washington's energy code for our climate zone, and that's a code inspection point, not a suggestion.
Moss, Algae, and Driving Rain: Why Long-Term Behavior Matters
Whatcom County's combination of moisture, mild temperatures, and long shaded seasons is close to ideal growing conditions for moss and algae — not just on roofs, but on window sills, trim, and any horizontal or textured surface that stays damp. Two things reduce that over the life of the window: proper drainage (so water isn't sitting on sills and in corners) and trim and sealant choices that don't give organic growth something to hold onto. Salt-influenced air in our part of the county can also accelerate wear on lower-grade fasteners and hardware over time, which is part of why we spec corrosion-resistant fastening at the flange on every install, not just on homes directly on the water.
None of this is exotic — it's standard good practice — but it's the kind of detail that gets skipped when a crew is used to installing in a drier climate and hasn't adjusted for ours.
How Our Process Works on a New Build
1. Coordination with Your Builder
We work off the framer's schedule. Once rough openings are framed and the weather barrier is ready to go, we schedule the window install to happen in sequence — not before the wall is ready, not so late that the building sits exposed longer than it needs to.
2. Pre-Install Walkthrough
Before any window is set, we check openings against the window schedule and the manufacturer's specs. Errors caught here cost nothing. Errors caught after siding is on cost real money.
3. Installation
Flashing, setting, and sealing following the sequence above, unit by unit, with fastening and shimming checked on each one rather than assumed consistent across the house.
4. Documentation and Walkthrough
We'll walk the openings with you or your builder before siding closes everything up — this is the last point where flashing and sealant work is easy to verify visually.
Why a Local Crew Matters for This Work
New-construction window installation touches building code, and code enforcement varies by jurisdiction even within Whatcom County. A crew that regularly works Sumas-area builds already knows what local inspectors look for at the weather-barrier and window stage, what energy code documentation is expected, and how to schedule around our wet-season weather windows so flashing work isn't happening in a downpour. That's not something a traveling crew or a builder's out-of-area subcontractor picks up quickly — and on a step of construction where mistakes hide behind siding for years, that local familiarity is worth having on your side from the start.
A Few Things Worth Getting Right Before Your Build Reaches This Stage
- Confirm your window schedule (sizes, egress requirements, tempered glass locations) matches the approved plans before units are ordered — changes after ordering cost time and money.
- Ask whoever installs your windows to walk you through their flashing sequence, not just their brand options.
- Check that fastener and flashing materials specified are corrosion-resistant, given our marine-influenced air.
- Don't let siding start until window flashing has been visually verified — once it's covered, it's covered.
- Keep manufacturer documentation and NFRC labels for your final energy code file.
If you're planning a new build in the Sumas area, or your builder needs a window subcontractor who already knows the local inspection process, we're happy to walk the plans with you and put together a straightforward, no-pressure estimate. There's a form below — reach out and we'll get back to you.