 Birch Bay Siding
 Siding Installation Built for Custer's Weather, Not Against It
Custer sits close enough to the water that homes here take on a version of Whatcom County's weather that's a little rougher than what you'd find further inland. Salt-laden air drifts off the Strait, driving rain comes in sideways during fall and winter storms, and the shaded, damp stretches of the year give moss and algae plenty of time to take hold on north-facing walls and anything under tree cover. Siding that isn't specified and installed with that combination in mind tends to show it early — fading, swelling at the seams, soft spots at the bottom courses, and moss creeping up from the ground line.
This page is specifically about siding installation for Custer properties, not a general overview of siding everywhere. The moisture management details, product choice, and install sequence we describe below are the ones we actually use on homes in this area, because they're the details that matter most given what the local climate does to a wall over time.
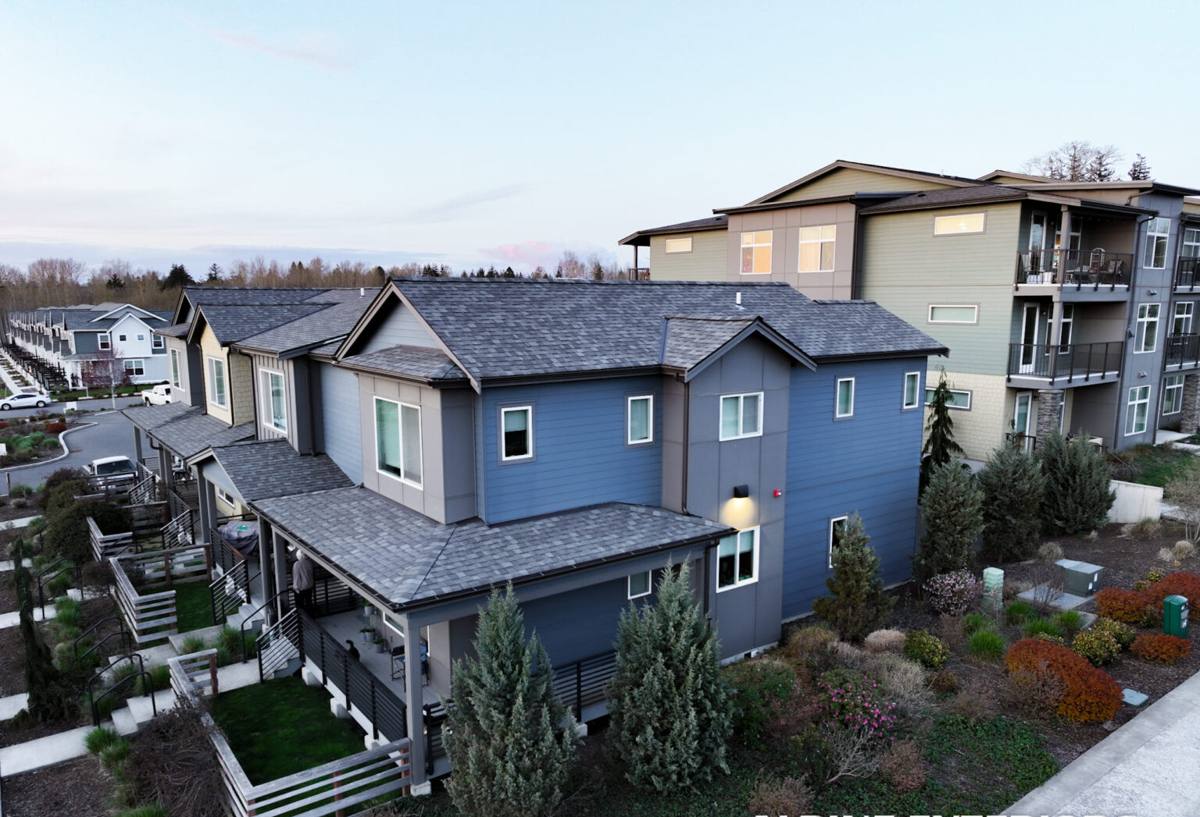
What "Correct" Siding Installation Actually Involves
Homeowners often think of siding installation as putting new panels on the outside of a house. That's the visible part, but it's the last step. The work that determines whether siding lasts 10 years or 40 years happens underneath it, and it's the same whether the finished product is fiber cement, vinyl, or anything else.
The Water-Management System Behind the Siding
Every wall assembly needs a plan for water that gets past the outer layer — because some always does, through wind-driven rain, condensation, or minor gaps around penetrations. In a driving-rain climate like Custer's, that plan needs to actually work, not just meet minimum code.
- A continuous weather-resistant barrier (housewrap or building paper) installed shingle-style so water sheds downward and outward
- Properly flashed windows, doors, and any wall penetrations, integrated into the water-resistive barrier rather than just caulked over
- A rain screen or drainage gap where the siding line and exposure call for it, so moisture that gets behind the cladding can drain and dry instead of sitting against the sheathing
- Correct flashing and kick-out details at rooflines, decks, and anywhere two building planes meet
- Proper clearance between the bottom of the siding and grade, decks, or roof surfaces, so splash-back and standing moisture don't sit against the material
Skip any one of these and the siding itself almost doesn't matter — water will find its way into the wall assembly eventually, and in a climate with this much annual rainfall, "eventually" doesn't take long.
Fastening and Fit
Fiber cement siding has specific fastening requirements — nail placement, spacing, and depth all affect how the panels perform over time. Overdriven or underdriven fasteners, wrong nail type, or panels installed too tight against each other without the manufacturer's specified gap for expansion are common shortcuts that cause problems years later: cracking at fastener points, buckling, or panels that don't sit flat. We follow the manufacturer's installation specifications exactly, because doing so is what keeps the product warranty valid and the wall performing as designed.
Our Installation Process for Custer Homes
1. On-Site Assessment
We walk the property and look at what's actually driving wear on the current siding or sheathing — sun exposure, shade and moss patterns, roofline drainage, deck and grade clearances, and any areas showing existing moisture damage. Custer properties near tree lines or with limited afternoon sun often have different problem spots than more open lots, and we plan the job around what we actually find, not a generic checklist.
2. Tear-Off and Sheathing Inspection
Once the old siding comes off, we inspect the sheathing underneath. This is the point where hidden rot, soft spots, or prior water intrusion becomes visible — and it's important to catch, because new siding installed over compromised sheathing just hides the problem instead of fixing it. Any damaged sheathing gets replaced before we move forward.
3. Water-Resistive Barrier and Flashing
We install a continuous weather-resistant barrier and integrate flashing at every window, door, and penetration before any siding goes up. This is the step that does the most long-term work and the one that's easiest to shortcut — we don't.
4. James Hardie Panel Installation
Panels, trim, and accessories go up to Hardie's written installation specifications: correct fastener type and spacing, proper gapping for expansion, and factory-cut or field-cut edges sealed as required to protect the factory finish. Corners, trim, and joints are detailed to shed water rather than trap it.
5. Final Walkthrough
We walk the finished job with the homeowner, confirm caulking and trim lines are clean, and go over basic care so the siding performs the way it's designed to for the long haul.
Why We Install Only James Hardie Fiber Cement
We get asked why we don't offer vinyl, LP SmartSide, or other fiber cement brands. The honest answer is that we standardized on one product because we wanted to stand behind every job the same way, and James Hardie is the product we trust to hold up in this specific climate over decades, not just years.
Non-Combustible Material
Fiber cement is non-combustible, which matters for insurance considerations and general fire safety in a way vinyl siding simply can't match, since vinyl softens and deforms at relatively low heat.
Engineered for Regional Climate
Hardie's HZ5 product line is engineered for climates like the Pacific Northwest's — freeze-thaw cycles, sustained damp periods, and moisture exposure. That's a meaningful difference from a generic siding product, because the material is formulated for what this specific region does to a wall over a winter, not an average national climate.
Factory-Applied ColorPlus Finish
The ColorPlus finish is baked on at the factory under controlled conditions, rather than field-painted. That gives more consistent coverage and better fade and moisture resistance than a site-applied paint job, and it comes with its own finish warranty separate from the substrate warranty.
Moisture and Pest Resistance
Fiber cement doesn't absorb water the way wood-based products can, and it isn't a food source for insects. In a climate with Custer's rainfall totals and humidity, that resistance to moisture uptake is a large part of why the material holds its shape and paint line over time instead of swelling, cupping, or delaminating at the edges.
Warranty Backing
James Hardie backs its siding with a strong, transferable limited warranty, which also protects resale value — a future buyer inherits real warranty coverage, not just cosmetically new siding of unknown quality.
How Siding Materials Compare for a Custer Property
| Material | Moisture Behavior | Fire Rating | Typical Lifespan | Why We Don't Install It |
|---|---|---|---|---|
| James Hardie Fiber Cement | Resists swelling, cupping, rot | Non-combustible | 30+ years with proper install | N/A — our standard product |
| Vinyl Siding | Doesn't absorb water, but seams and panels can allow moisture behind cladding | Combustible, can deform in heat | 15-25 years, fades and becomes brittle | Lower fire resistance, shorter realistic lifespan, less design flexibility |
| LP SmartSide | Engineered wood strand product, vulnerable at cut edges and unsealed joints if not maintained | Combustible | 20-30 years with diligent maintenance | Wood-based core requires more maintenance vigilance in wet climates |
| Cedar / Primed Spruce | Natural wood, absorbs moisture, needs regular refinishing | Combustible | Varies widely with maintenance | High maintenance burden in a high-rainfall, moss-prone climate |
This isn't a claim that other products fail outright — many perform reasonably well when properly maintained. It's a statement of the trade-offs that led us to standardize on one product we can install correctly and stand behind on every job.
Signs a Custer Home May Need New Siding
- Visible cracking, warping, or panels that have separated from the wall
- Soft or spongy spots when pressed, especially near the bottom courses or under windows
- Persistent moss or algae growth that returns quickly after cleaning
- Peeling or bubbling paint, or siding that needs repainting far more often than it should
- Rising energy bills that suggest the wall assembly isn't insulating or sealing the way it used to
- Visible gaps, loose trim, or caulking that's cracked and pulling away at joints
- Interior signs like musty smells or discoloration on interior walls near exterior corners
Any one of these can be minor on its own, but a home showing two or three of them at once is usually telling you the water-management system behind the siding has already been compromised.
What Drives Cost on a Custer Siding Installation
| Factor | How It Affects the Job |
|---|---|
| Extent of sheathing damage found at tear-off | Rot repair adds labor and material before new siding can go up |
| Home size and wall complexity | More corners, dormers, and trim details mean more cutting and detailing time |
| Panel profile and finish selection | Lap siding, shingle-style panels, and trim boards vary in material cost |
| Access and site conditions | Tree cover, tight lot lines, or difficult staging areas can affect labor time |
| Flashing and drainage detailing needed | Homes with prior water issues may need extra flashing work at rooflines and penetrations |
We won't quote a number without seeing the property, but we can walk you through these factors during a free estimate so there are no surprises once the tear-off starts.
Why Hiring a Crew That Already Works in Custer Matters
A contractor who regularly works in Whatcom County's coastal communities has already seen how salt exposure, driving rain, and moss build-up play out on real houses over real winters here — not in a training manual. That translates into practical judgment calls on-site: where extra flashing detail is worth the time, which wall orientations need closer attention to drainage, and what level of moss and staining on existing siding signals a bigger moisture problem underneath. A crew coming from outside the region, or one juggling several unrelated product lines, doesn't build that same pattern recognition, and it shows up later in callbacks and premature wear.
We also only install one product system, which means every crew member on a Custer job has installed the same fastening pattern, the same flashing approach, and the same trim details dozens of times before — not learning a new manufacturer's spec sheet on your house.
Caring for Your Siding After Installation
James Hardie siding is low-maintenance, but "low-maintenance" isn't "no-maintenance," especially in a climate that grows moss well. A yearly rinse-down with a garden hose (avoid high-pressure washing directly at seams and trim) keeps salt residue and organic buildup from accumulating. Keep gutters clear so overflow doesn't run down the wall face, keep vegetation trimmed back a few inches from the siding to maintain airflow, and have caulking at trim and penetrations checked periodically, since caulk is the one component that does wear out before the siding itself does.
If you're weighing a siding replacement or repair for a Custer property and want a straight answer about what your home actually needs, we're happy to take a look. Reach out for a free, no-pressure estimate using the form below.