 Birch Bay Siding
 Building New in Marietta Means Building for the Water
If you're framing a new home in Marietta, you're building close to the Strait of Georgia and Birch Bay's open shoreline. That location is a big part of why people build here — and it's also exactly why the windows going into that rough opening need to be installed differently than they would forty miles inland. Salt-laden air corrodes hardware and fasteners faster than dry-climate air. Wind-driven rain off the water pushes water sideways and upward into gaps that would never leak in a calm rain. And Whatcom County's long, damp moss season means anything that traps or channels moisture against wood framing or trim has months, not days, to do damage before things dry out again.
None of that means you need exotic materials. It means the basics — flashing sequence, sill pan detailing, sealant selection, and fastener choice — have to be done correctly and in the right order, every time, with no shortcuts because "it's new construction so it'll be fine." New framing hides mistakes just as well as old walls do; it just takes a little longer for them to show up.
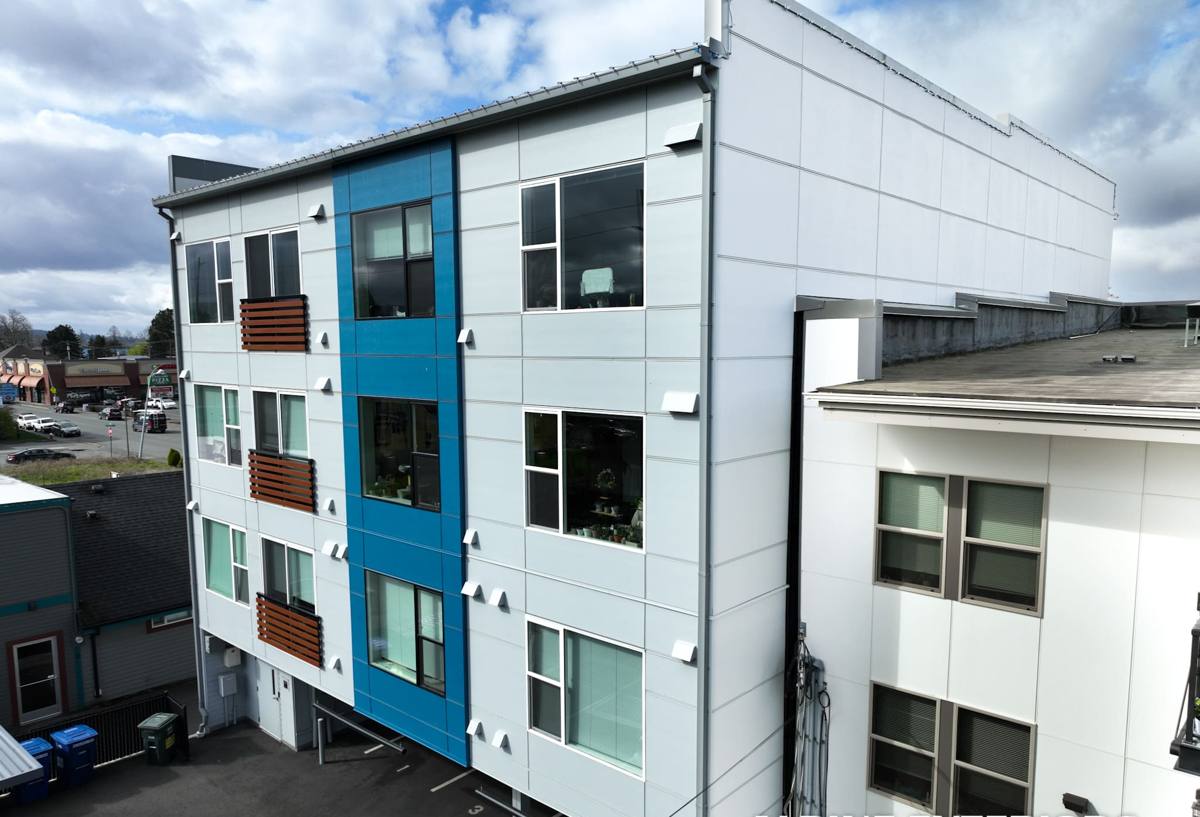
New-Construction Installs Are a Different Job Than Replacement
A lot of window discussion online is written for replacement jobs — pulling an old sash out of an existing frame. New-construction window installation is a different trade skill entirely. You're not working around an existing frame; you're building the water management system for that opening from bare sheathing outward. That gives us more control, but it also means every layer has to be sequenced correctly, because there's no old caulk line or existing flashing to fall back on if something's missed.
What "correct" actually involves
- Rough openings sized and squared to the window manufacturer's specified tolerances, not just "close enough"
- A sloped sill pan at the bottom of the opening so any water that gets past the window drains back out, not into the wall
- Flashing tape or housewrap integration installed shingle-style — each layer lapping over the one below it — so water sheds down and out, never in
- Nailing fins fastened per the manufacturer's schedule, not just "enough nails to hold it up"
- Backer rod and the correct exterior sealant at the trim line, sized to the actual gap
- Shimming that supports the frame without distorting it, so the sash operates smoothly for years, not just on install day
Getting the Rough Opening and Flashing Right — the Part Nobody Sees
Once siding and trim go on, the flashing details are invisible. That's exactly why they matter so much: nobody is checking that work again until there's a stain on a wall or soft trim ten years from now. In a climate like Birch Bay's, where wind-driven rain can hit a wall at an angle instead of falling straight down, a sill pan and properly lapped flashing aren't optional extras — they're the difference between a window that sheds water and one that slowly feeds it into the framing.
We treat every opening as if it will see a sideways rainstorm at some point, because on this stretch of coastline, it will. That means sill pans on every opening, head flashing that laps correctly with the weather-resistive barrier above it, and end dams or corner details at the jambs so water can't wick sideways into the wall cavity.
Choosing a Window Frame Material for Salt Air and Driving Rain
Frame material matters more here than in a dry inland build, mainly because of hardware corrosion, UV exposure off the water, and how each material handles being wet more often than not during the fall and winter. There's no single "best" material for every project — it depends on budget, the home's design, and how much long-term maintenance an owner wants to take on.
| Frame Material | Coastal/Salt-Air Performance | Maintenance | Relative Cost |
|---|---|---|---|
| Vinyl | Good — won't rust or rot; hardware quality varies by manufacturer | Low | $ |
| Fiberglass | Very good — dimensionally stable, resists corrosion and UV fading well | Low | $$ |
| Aluminum-Clad Wood | Good on the exterior face; wood core needs the interior kept dry | Moderate | $$$ |
| Solid Wood | Requires diligent finish maintenance in a wet, salty climate | High | $$$ |
For most new builds in Marietta, we steer clients toward vinyl or fiberglass unless the design calls for a wood look, in which case a quality clad product with careful flashing detail is the more honest long-term choice than solid exterior wood exposed to this much moisture and salt.
Hardware and Fasteners
It's easy to overlook, but the corrosion resistance of hinges, cranks, locks, and the fasteners holding the window in place matters as much as the frame itself this close to salt water. We spec stainless or coated fasteners and hardware rated for coastal exposure rather than the standard-grade parts that are fine forty miles inland but start showing rust streaks on a Birch Bay-facing wall within a couple of seasons.
Energy Code and Performance Ratings Worth Understanding
Washington's energy code sets minimum U-factor requirements for new construction windows, and Whatcom County's climate zone puts us on the stricter end of that scale. Beyond meeting code, a few ratings are worth knowing when you're comparing window quotes:
- U-factor — how well the window resists heat loss; lower is better for our winters
- DP (Design Pressure) rating — how much wind and structural load the window is rated to handle, relevant given how exposed some Marietta lots are to wind off the water
- Air infiltration rating — lower numbers mean fewer drafts and less moisture-laden air working its way into the wall assembly
- NAFS/AAMA certification — confirms the window has actually been tested for water penetration resistance, not just claimed
We check these numbers against the specific exposure of the lot — a window on a wall that takes direct weather off the bay deserves a higher water and pressure rating than one tucked on a sheltered side of the house, even on the same build.
How We Handle New-Construction Window Installs in Marietta
Because we already work regularly in this immediate area, our process starts before the windows ever show up on site.
1. Rough opening verification
We check every opening against the actual window schedule before installation day — not after. Framing tolerances that would be fine in a dry climate get corrected here if they'd leave too large or uneven a gap for proper sealing.
2. Sill pan and flashing installation
Sloped sill pans and shingle-lapped flashing go in on every opening, coordinated with whoever is installing the weather-resistive barrier so the layers integrate correctly instead of fighting each other.
3. Setting, shimming, and fastening
Windows are set square and plumb, shimmed to manufacturer spec, and fastened on the schedule that keeps the warranty intact — not just fastened until it feels solid.
4. Sealant and trim coordination
Exterior sealant goes in at the trim line with the correct backer rod sizing, timed around the siding and trim crew's schedule so the water management layers connect cleanly rather than getting covered up with gaps underneath.
5. Final check before siding closes it in
We walk every opening one more time before the wall gets covered, because that's the last point anyone can fix a flashing issue without tearing something back open.
Coordinating Windows With Siding and Trim
A window can be installed perfectly and still leak if the siding and trim around it aren't integrated with its flashing. This is one of the most common gaps we see when window installers and siding crews aren't communicating — the window flashing gets lapped one way, and the housewrap or trim goes on assuming a different sequence. On a new build, we'd rather be the crew doing both, or at minimum coordinating directly with whoever handles the other trade, so the water path from roof to foundation is continuous and nobody's assuming the other guy handled it.
Quality Checklist for a New-Construction Window Install
Whether you're hiring us or a different crew, here's what's worth confirming on any new-construction window job in a climate like this one:
- Sloped sill pan installed under every window, not just the ones facing the weather
- Flashing tape lapped shingle-style with the weather-resistive barrier — head flashing over the barrier, not under it
- Fasteners and hardware rated for coastal/corrosive exposure
- Window DP rating matched to the specific wall's wind and rain exposure
- Shims placed at manufacturer-specified points, not wedged in randomly
- Exterior sealant applied over correctly sized backer rod, not just caulked over a gap
- A final flashing inspection done before siding or trim closes up the opening
Why Hiring a Crew That Already Works Marietta Matters
General contractors from outside this stretch of coast aren't wrong to use standard flashing details — those details work fine in most of the country. But "standard" isn't always "enough" on a lot exposed to open water and driving wind-driven rain. Working regularly in Birch Bay and Marietta means we've seen which walls and orientations take the worst of the weather here, which sealants actually hold up through a full wet season, and where a slightly heavier flashing detail is worth the extra half hour on install day. That's knowledge you build by being on this ground repeatedly, not by reading a manufacturer's install sheet once.
If you're framing a new home in Marietta and want windows installed the right way the first time, we're happy to walk the site, look at your window schedule, and give you a straightforward, no-pressure estimate — just fill out the form below.