 Birch Bay Siding
 Building New in Whatcom County? The Window Install Has to Be Right the First Time
New construction is the one time a window gets installed the way it's actually supposed to be installed — full access to the rough opening, no old siding or trim to work around, no guessing what's hiding behind a wall. That's the good news. The bad news is that new-construction windows are also unforgiving of shortcuts, because the flashing, sheathing, and water-management details go in once and then get buried under siding for the next thirty years. If they're wrong, nobody finds out until there's a stain on the drywall.
Our crew installs new-construction windows on homes and additions in and around Nooksack and the broader Birch Bay service area. We're not a general contractor subbing this out to whoever's available that week — window and siding installation is what we do, and we do it on the same coastal and inland Whatcom County job sites over and over. That repetition matters more than it sounds like it should.
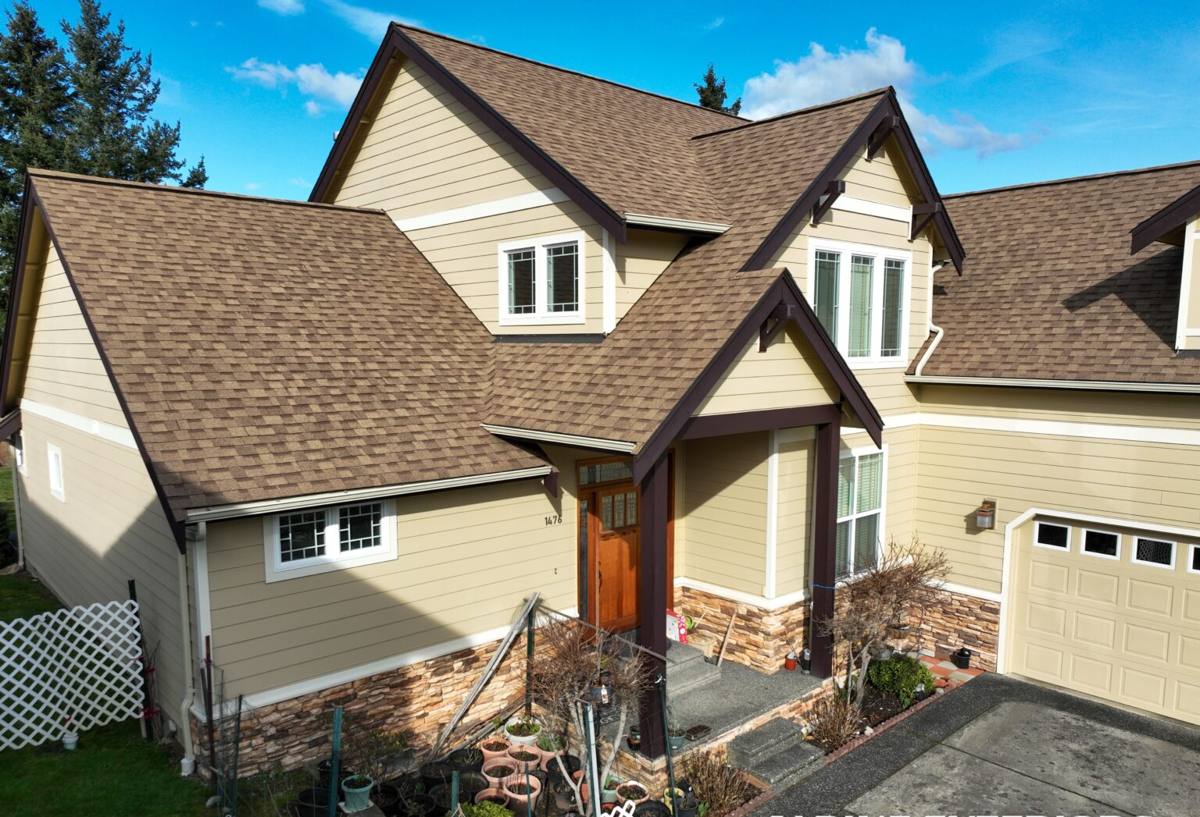
What Whatcom County Weather Does to a New Window Installation
Whatcom County asks a lot of a building envelope. Along the coast near Birch Bay, salt-laden air accelerates corrosion on hardware, fasteners, and lower-quality cladding. Move inland toward Nooksack and the salt exposure eases up some, but the region still gets long stretches of driving rain pushed in off the Strait, plus a moss season that runs longer here than almost anywhere else in the state. Combine wind-driven rain with months of damp, shaded conditions and you get a climate that punishes any weak point in a window's water-shedding path — not dramatically, but steadily, year after year, until a small gap becomes a rot problem.
That's why new-construction window installs in this region aren't just "set it and caulk it." The flashing sequence, the sill pan, and the way the window ties into the weather-resistive barrier all have to work together as a system. A window can be a good product and still fail if the opening around it wasn't prepared correctly.
Specific local stressors we build around
- Wind-driven rain that pushes water sideways and upward against the window, not just straight down
- Extended damp periods that keep sheathing and framing at higher moisture content longer than drier regions
- Moss and organic growth that holds moisture against trim and sill areas if drainage isn't planned in
- Temperature swings between marine-influenced coastal air and cooler inland nights that stress seals and caulk joints over time
- UV exposure on south- and west-facing openings that ages sealants and finishes faster than shaded elevations
What a Correct New-Construction Window Install Actually Involves
New-construction windows use a nailing fin around the perimeter of the frame, which gets fastened to the sheathing and then integrated into the house wrap or weather-resistive barrier before siding goes on. Done right, water that gets behind the siding is directed out and away from the window opening, never toward it. Here's the sequence we follow on every rough opening:
- Inspect the rough opening for square, level, and correct dimensions before the window ever gets set — fixing framing issues now is a lot cheaper than fixing them after siding is on
- Install a sloped sill pan so any water that reaches the sill drains outward, not into the wall cavity
- Apply flashing tape or self-adhered flashing at the sill and jambs in the correct shingle-lapped order — bottom first, sides next, top last, so every layer sheds onto the one below it
- Set the window plumb, level, and square, and fasten it per the manufacturer's schedule so it performs as tested
- Integrate the head flashing under the weather-resistive barrier above the window, never over it, so water is directed onto the barrier and away from the opening
- Seal and back-caulk per manufacturer spec, leaving the bottom weep path clear so any incidental moisture can still escape
- Insulate the gap between the frame and rough opening with a low-expansion foam or backer rod — packed too tight, the frame can bow; left too loose, it's an air leak
Every one of those steps matters on its own, but the order matters just as much. Flashing installed out of sequence can direct water into the wall instead of away from it, and you won't know until the damage is already done.
Why Hiring a Crew That Already Works This Area Matters
Anyone can install a window on a calm, dry day. The real test is whether the install still performs correctly during a wet Whatcom County winter, five and ten years down the road. A crew that only occasionally works this climate is learning the local water-management lessons on your house. A crew that works Birch Bay, Nooksack, and the surrounding communities regularly has already made those adjustments — thicker flashing overlaps where wind-driven rain is a known issue, sill pan details tuned for extended damp periods, fastening schedules that account for the temperature swings this area sees.
Local presence also means straightforward accountability. If a question comes up during framing inspection or a detail needs a second look before siding closes it in, we're not driving in from three counties over. We're already working in the area.
Choosing Windows for a Nooksack-Area New Build
The frame material and glazing package matter as much as the installation. For this climate, we steer new-construction clients toward products with a track record of holding up to sustained moisture exposure and UV, rather than whichever option is cheapest up front. We're candid about trade-offs — every frame material has maintenance and moisture-behavior characteristics worth understanding before you commit, especially on a coastal or near-coastal lot.
| Frame Material | Moisture Behavior | Maintenance | Typical Fit |
|---|---|---|---|
| Vinyl | Won't rot; performs well in damp climates | Low — occasional cleaning | Cost-conscious builds, most rooms |
| Fiberglass | Very stable, minimal expansion/contraction from moisture and temperature swings | Low | Larger openings, exposed elevations |
| Wood-clad | Good if flashing and finish are maintained; vulnerable if water gets behind the cladding | Higher — finish upkeep matters | Design-driven interiors, protected elevations |
| Aluminum | Durable but prone to condensation and thermal transfer without a thermal break | Moderate | Specific architectural applications |
Glazing matters too. In this region, we generally recommend dual-pane, low-E glass as the baseline, with attention to the gas-fill and spacer type — cheaper spacer systems tend to fail seals faster under the temperature cycling this climate produces, which shows up years later as fogged glass.
Cost factors on a new-construction window package
| Factor | Why It Moves the Price |
|---|---|
| Frame material | Vinyl is the most economical; fiberglass and wood-clad cost more upfront |
| Number and size of openings | Larger and more numerous openings increase both material and labor |
| Elevation exposure | Weather-exposed elevations may warrant upgraded flashing details or glazing |
| Glazing package | Upgraded low-E coatings and gas fills add cost but improve comfort and energy performance |
| Site access and timing | Coordinating with the framing schedule efficiently keeps labor costs predictable |
Coordinating With Your Builder's Schedule
New-construction window installs happen at a specific point in the build — after the rough openings are framed and sheathed, before siding goes on. Getting that sequencing right is as much about scheduling as craftsmanship. We work directly with builders and homeowners acting as their own general contractor to slot the window install in at the right moment, so the weather-resistive barrier and flashing details are complete before the framing crew moves on and before siding closes everything in.
If you're managing your own build in the Nooksack area, we're glad to walk the site with you before framing is even finished, so rough openings get sized and prepped correctly the first time.
A Simple Pre-Installation Checklist
- Rough openings are framed square, level, and to the correct dimension for the chosen window units
- Sheathing is dry and sound, with no delamination or damage around the openings
- Weather-resistive barrier is installed and ready to integrate with window flashing
- Window units on site match the approved schedule — sizes, swing direction, and glazing package
- Sill pan and flashing materials are on hand and rated for the exposure level of each elevation
- Timeline confirmed with the framing and siding crews so there's no exposed gap in the schedule
Get a Straightforward Estimate
If you're planning a new build or addition in the Nooksack area, we're happy to take a look at your plans or rough openings and walk you through what a correct installation looks like for your specific site and exposure. Reach out for a free, no-pressure estimate using the form below — there's no obligation, just a straight answer about what your project needs.