 Birch Bay Siding
 Siding Repair Built for What Sumas and Birch Bay Weather Actually Does to a House
If you own a home near Sumas or Birch Bay, you already know the siding on your house is doing more work than siding does in most parts of the country. Between salt-laden air moving in off the water, driving rain that hits walls sideways for days at a time, and a moss season that seems to stretch longer every year, exterior walls here take a beating that homeowners in drier climates never have to think about. Siding repair in this area isn't a cosmetic errand — it's maintenance that protects the structure behind the wall.
This page covers what siding repair actually means for homes in and around Sumas: what tends to fail first, what a correct repair looks like versus a quick patch, and why we do this work exclusively in James Hardie fiber cement rather than mixing materials or matching whatever happens to already be on the wall.
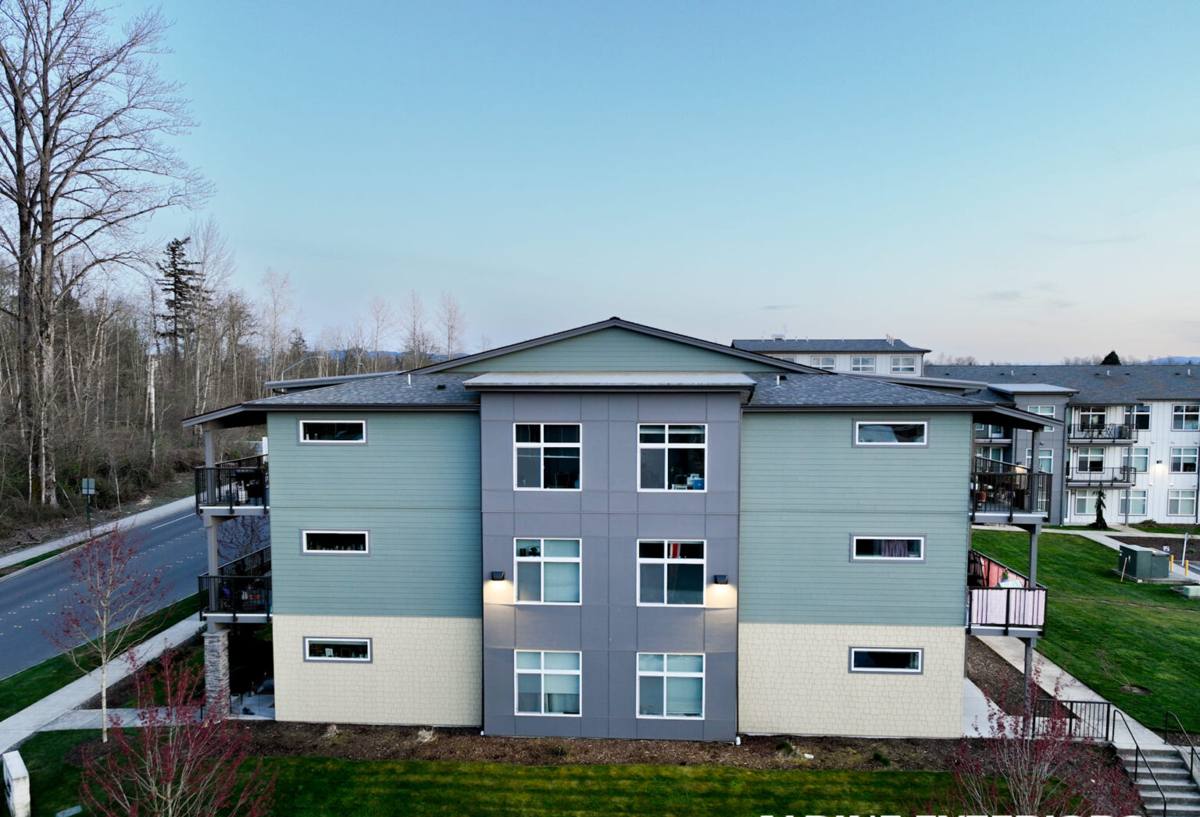
What Whatcom County Climate Does to Siding Over Time
Every siding material eventually shows wear, but the specific combination of conditions in this part of Whatcom County accelerates certain kinds of damage:
Salt Air
Homes closer to the water pick up airborne salt that settles on exterior surfaces. Over years, that salt exposure breaks down paint films faster, corrodes exposed fasteners, and speeds up the deterioration of any siding material that isn't engineered to resist it.
Driving Rain
Wind-driven rain doesn't just run down a wall — it gets pushed sideways into laps, seams, and fastener penetrations. Siding that isn't installed with the right overlaps, flashing, and clearances will eventually let water behind the cladding, where it does damage you can't see until it's serious.
A Long Moss Season
Persistent moisture and shaded, north-facing walls create ideal conditions for moss and algae growth on siding for a large part of the year. Beyond the appearance issue, moss holds moisture directly against the siding surface far longer than open air ever would, which is exactly the kind of sustained dampness that causes rot in wood-based products and breaks down coatings on others.
None of this means siding is doomed here — it means the material and the installation details have to be matched to the environment, and repairs have to address the actual cause of the damage rather than just covering it up.
Common Siding Repair Issues We See in the Sumas and Birch Bay Area
- Soft or delaminating boards on wood-based or engineered wood siding, usually starting at butt joints, corners, and anywhere caulking has failed
- Cracked or split panels from impact, age, or moisture cycling — swelling and shrinking as boards absorb and release water
- Failed caulk joints around trim, windows, and panel seams that have opened up and are letting wind-driven rain track behind the siding
- Persistent moss and algae staining that keeps returning even after cleaning, usually a sign the wall isn't drying out between rain events
- Corroded or popped fasteners, especially on older installations where nails weren't rated for coastal exposure
- Water staining or soft spots on interior walls near exterior corners or window trim, which usually traces back to a siding or flashing failure outside
The common thread in almost all of these is moisture that found a way in and had nowhere to go. Fixing the visible symptom without addressing how water got there is the single most common mistake in siding repair — and the most common reason a homeowner ends up paying for the same repair twice.
What a Correct Siding Repair Actually Involves
A quality repair is not just swapping a damaged board for a new one. It involves a short diagnostic process every time:
1. Find the Real Source
Visible damage is often downstream of the actual problem — a gap in flashing, a caulk joint that failed years ago, or a grading issue that keeps splashing water up the wall. Replacing the board without fixing the source just resets the clock on the same failure.
2. Check What's Behind the Siding
Once a section is opened up, we check the water-resistive barrier, sheathing, and framing behind it. If moisture has been getting in for a while, there may be damage that isn't visible from the outside — and that has to be addressed before new siding goes back on, not covered up underneath it.
3. Match the Material and the Installation Details
Patching in a mismatched product, a different profile, or the wrong fastener pattern creates a weak point that fails again faster than the surrounding siding. Repairs should use the correct product, correct clearances, and correct flashing details — the same standards as a full installation, just applied to a smaller area.
4. Seal and Finish Properly
The right caulking at the right joints, matched touch-up or factory-finished replacement panels, and attention to how the repair blends into the surrounding wall all matter for both appearance and long-term performance.
Why We Repair — and Recommend — James Hardie Fiber Cement
We are a James Hardie–only contractor. We don't install LP SmartSide, vinyl, Cemplank, Allura, primed spruce, or cedar, and that standard shapes how we approach repair work too.
When a home already has James Hardie fiber cement siding, repair is straightforward: it's a non-combustible, dimensionally stable product with a factory-applied ColorPlus finish, so damaged sections can be replaced with matching material and the repair holds up the same way the original installation does — through salt air, driving rain, and moss season alike.
When a home has a different siding material and the damage is limited — a section of trim, a small area of impact damage — we'll still do honest repair work to get you through, using materials appropriate to what's already there. But when we're looking at widespread delamination, chronic moisture damage, or a wall that's failed in the same way more than once, we'll tell you plainly: patching a product that wasn't built for this climate just delays the next repair. At that point, replacing the affected siding with James Hardie — engineered for wet coastal climates, backed by a strong transferable warranty, and requiring far less ongoing maintenance than wood-based alternatives — is usually the more honest recommendation than another round of patchwork.
That's a judgment call we make based on the condition of your specific wall, not a sales script. Plenty of repairs are just repairs.
Our Siding Repair Process
- Inspection. We look at the damaged area and the surrounding wall, not just the spot you called about, since related problems often show up nearby.
- Diagnosis. We identify what let moisture or damage in — a flashing gap, failed caulk, an installation error, or simple age and impact.
- Scope and estimate. You get a clear explanation of what needs to happen, what it will cost, and why — including whether repair or a larger replacement makes more sense.
- Removal and inspection behind the siding. Damaged panels come off, and we check the sheathing and water-resistive barrier before anything goes back on.
- Correct-spec repair. New material goes in with proper clearances, fastening, and flashing details — not just a cosmetic patch.
- Finish and cleanup. Caulking, touch-up, and a final check that the repaired area is sealed and blends with the surrounding siding.
Repair vs. Replace: How We Help You Decide
Not every siding problem needs a full replacement, and not every repair is worth doing if the underlying material is failing broadly. Here's how we generally think about it:
| Factor | Leans Toward Repair | Leans Toward Replacement |
|---|---|---|
| Extent of damage | Isolated to one or two sections | Recurring across multiple walls or elevations |
| Cause | One-time impact or a single failed joint | Chronic moisture intrusion or material breakdown |
| Siding material | Existing James Hardie fiber cement | Wood-based or moisture-sensitive product showing widespread wear |
| Age of siding | Relatively recent installation | Original siding is decades old and near the end of its service life |
| Underlying damage | Sheathing and framing are sound | Rot or moisture damage found behind the siding |
We'll walk you through where your home falls on this before you commit to anything, and we're not going to talk you into a full replacement when a targeted repair will genuinely hold up.
What to Look for When Hiring a Siding Repair Contractor Near Sumas
Siding repair is easy to do poorly and hard to inspect once it's closed back up, which makes who you hire more important than it might seem for what looks like a small job. Before hiring anyone for repair work in this area, it's worth checking:
- Do they diagnose the cause of the damage, or just quote replacing the visible board?
- Are they willing to open up the area and check what's behind the siding before finishing the repair?
- Do they have direct experience with coastal Whatcom County conditions — salt exposure, wind-driven rain, and moss — rather than generic siding work?
- Can they explain, in plain terms, why they'd recommend a repair versus a larger replacement for your specific situation?
- Are they licensed, insured, and willing to put the scope of work in writing before starting?
- If your siding is James Hardie, do they have actual experience with the product's installation specs, not just siding in general?
Local Considerations for Sumas and Birch Bay Homes
Because this area sits where coastal exposure meets a genuinely wet Pacific Northwest climate, siding here rarely fails for just one reason — it's usually a combination of sustained moisture, salt exposure, and long stretches without enough sun or wind to let walls dry out fully between storms. That's why we look at the whole wall assembly during a repair, not just the damaged section, and why we're direct with homeowners about when a repair is the right call and when it's just postponing a bigger job.
If you're dealing with damaged, deteriorating, or moss-covered siding on a home in the Sumas or Birch Bay area, we're glad to take a look and give you a straight answer. Reach out for a free, no-pressure estimate — there's a form below.