 Birch Bay Siding
 Why Birch Bay Village Siding Wears Out Faster Than Homeowners Expect
Birch Bay Village sits close enough to the water that salt-laden air is a daily fact of life, not an occasional nuisance. Combine that with Whatcom County's long, wet winters and the driving rain that comes off Georgia Strait, and you have an exterior envelope that's under near-constant moisture pressure for eight or nine months of the year. Add tree cover and shaded north-facing walls that stay damp long after the rain stops, and you get the moss and algae growth that's a familiar sight on older siding throughout the area.
None of this is unusual for the Pacific Northwest. But it does mean siding that was installed without the right materials, the right flashing details, or the right prep work tends to fail here years before it would in a drier climate. Paint peels and blisters. Seams open up and let water behind the cladding. Lower courses near grade wick moisture and stay soft. By the time a homeowner notices a problem on the surface, there's often already damage happening underneath.
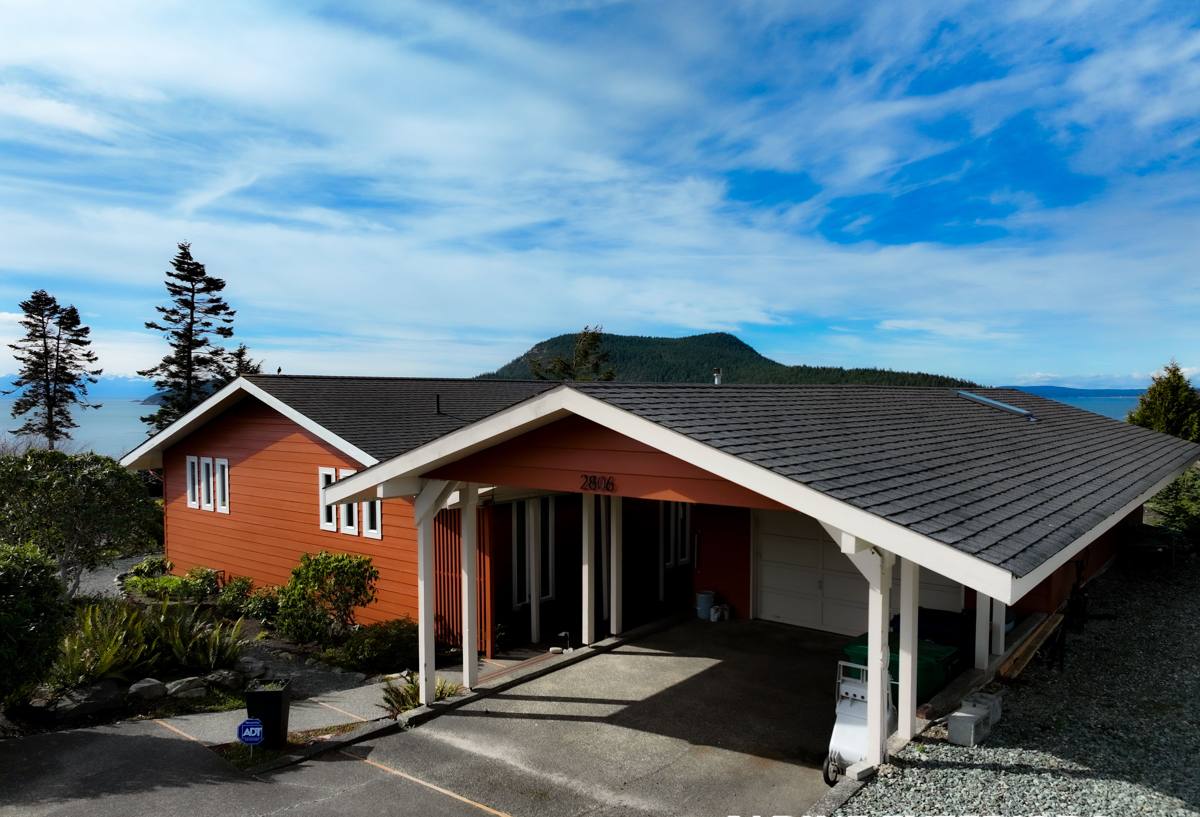
Signs Your Siding Has Reached the End of Its Useful Life
Siding replacement is a big investment, so it's worth knowing what actually justifies a full tear-off versus a repair. Some signs point clearly to replacement rather than patching:
- Soft or spongy spots when you press on the siding, especially near the bottom courses or around window trim
- Paint that keeps failing within a couple of years no matter how often it's redone
- Persistent moss or dark streaking that comes back within a season of cleaning
- Visible gaps, warping, or buckling panels, particularly on walls that face prevailing wind and rain
- Cracking or delamination on older composite or hardboard products
- Interior signs — musty smells, staining, or soft drywall on exterior walls — that suggest moisture is already getting past the cladding
If you're seeing two or more of these, especially on the sides of the house that take the worst weather, it's time to have someone look at the sheathing underneath, not just the surface.
What a Correct Siding Replacement Actually Involves
A siding replacement done right is not a cosmetic swap. It's an opportunity to fix what's underneath the old cladding, which in a climate like this matters as much as the siding itself.
Full Tear-Off, Not Overlay
We remove the existing siding entirely rather than installing new material over it. Covering up old siding traps whatever moisture damage already exists and hides it for the next owner to discover. It also means the new siding won't sit flush or perform the way it's designed to.
Sheathing Inspection and Repair
Once the old siding is off, the sheathing gets inspected for rot, soft spots, and water staining — particularly around window and door openings, at deck ledgers, and near the foundation line where splash-back is a constant issue in wet weather. Damaged sheathing gets cut out and replaced before anything new goes on. Skipping this step is the single most common shortcut that leads to hidden rot a few years down the road.
Weather-Resistive Barrier and Flashing
A correctly lapped weather-resistive barrier, proper window and door flashing, and careful integration at every penetration — vents, hose bibs, light fixtures — is what actually keeps wind-driven rain out of the wall assembly. This detail work matters more here than in drier regions, because Birch Bay's storms come in horizontally off the water, not just straight down.
Correct Fastening and Clearances
Fiber cement siding has specific fastening patterns, nail penetration requirements, and minimum clearances from grade, roof lines, and decks. These aren't optional details — they're what determines whether the product performs to its rated lifespan or fails early.
Why We Install Only James Hardie Fiber Cement
We standardized on James Hardie fiber cement siding and don't install vinyl, LP SmartSide, Cemplank, Allura, primed spruce, or cedar. That's not a marketing position — it's a decision based on what actually holds up in this climate.
Fiber cement is non-combustible, which matters increasingly in Washington. It doesn't expand and contract with temperature and moisture the way vinyl and wood-based products do, so seams and joints stay tighter over time. James Hardie's ColorPlus factory-applied finish is baked on under controlled conditions, which gives more consistent, longer-lasting color than field-applied paint — a real advantage in an area where humidity makes on-site paint jobs harder to get right and faster to fail. And James Hardie engineers specific product lines, including HZ5 formulations, for regions with prolonged moisture exposure and freeze-thaw cycling, which describes Whatcom County's winters well.
We're not going to tell you every other product is worthless — vinyl is inexpensive and low-maintenance in mild climates, and cedar has a look some homeowners genuinely prefer. But we've made a professional call that in an environment with this much sustained moisture and salt exposure, fiber cement gives homeowners the best combination of durability, appearance retention, and warranty backing. It's the product we're willing to put our name behind.
Our Process, From Estimate to Final Walkthrough
Every siding replacement follows the same sequence, whether it's a single wall repair or a full re-side:
- On-site assessment — we walk the exterior, check for soft spots, and look at drainage, roofline, and grading issues that affect siding performance
- Written estimate — a clear scope of work covering tear-off, sheathing repair allowances, materials, and installation
- Material selection — choosing the James Hardie profile and ColorPlus finish that fits the home and neighborhood
- Tear-off and inspection — removing old siding and evaluating the sheathing before anything new is installed
- Repair and prep — replacing damaged sheathing, correcting flashing details, installing the weather-resistive barrier
- Installation to manufacturer spec — proper fastening, clearances, and joint treatment
- Final walkthrough — reviewing the finished work with the homeowner before we consider the job done
Cost Factors for Siding Replacement in Birch Bay Village
Every home is different, but the same handful of factors drive most of the cost variation we see on projects in this area:
| Factor | Why It Matters | Effect on the Project |
|---|---|---|
| Extent of hidden sheathing damage | Homes near the water often have more moisture-related rot behind old siding than is visible from outside | Repair scope isn't fully known until tear-off; a repair allowance is built into estimates |
| Home size and wall complexity | More corners, gables, and trim details mean more labor and cutting | Straightforward rectangular walls install faster than homes with lots of architectural detail |
| Siding profile and finish selected | Lap width, texture, and ColorPlus color affect material cost | Standard profiles and popular colors are typically more cost-efficient than custom options |
| Access and site conditions | Tree cover, slopes, and tight side yards common in Birch Bay Village can slow staging and material handling | Difficult access adds labor time |
| Trim and accessory work | Fascia, soffits, and trim boards are often replaced alongside siding | Bundling this work with siding replacement is usually more efficient than doing it separately later |
Why Hiring a Crew That Already Works in Birch Bay Village Matters
Siding installation is sensitive to detail, and the right details change depending on the environment. A crew that regularly works Birch Bay Village already understands which walls take the worst weather, how much moss and moisture exposure to expect on shaded and north-facing elevations, and where sheathing damage tends to show up first on homes of a certain age in this area. That familiarity shortens the guesswork on tear-off day and means fewer surprises once the old siding comes off.
It also means accountability. A contractor who plans to keep working in this community has a reason to get the flashing details right the first time, because a callback is a short drive away, not an inconvenience they can avoid. That's worth more than a low bid from a crew passing through.
A Practical Pre-Replacement Checklist
Before committing to a siding replacement, it's worth walking your own exterior with these points in mind:
- Press on siding near the bottom courses and around windows to check for soft spots
- Note which walls face the water or prevailing wind — these usually need the closest attention
- Check gutters and downspouts are directing water away from the foundation, not onto walls
- Look at grading near the house — soil that slopes toward the foundation makes moisture problems worse
- Ask any contractor you're considering whether their estimate includes a sheathing repair allowance
- Confirm in writing which product line and finish is being quoted, not just "fiber cement" generically
Replacing siding is one of the few home improvements that protects everything behind it, and getting it right the first time matters more in a climate like this than almost anywhere else in the state. If you'd like an honest look at what your home needs, we offer free, no-pressure estimates — the form below is the easiest way to get started.