 Birch Bay Siding
 Windows Built for Birch Bay Village's Waterfront Climate
Birch Bay Village sits close enough to the water that its homes take a different kind of weathering than houses a few miles inland. Salt-laden air off the bay works on metal hardware and finishes year-round. Driving rain during fall and winter storms tests every seal and sill. And the long stretch of gray, damp months from October through April keeps moss and moisture pressure active on north- and west-facing walls for most of the year. Windows here don't just need to look good — they need to keep working against all three of those forces without babysitting.
We install windows across Whatcom County, and Birch Bay Village is one of the areas we work in regularly. That matters more than it sounds like it should. A window that performs fine in a drier inland neighborhood can underperform here if it isn't specified, flashed, and sealed with this specific exposure in mind.
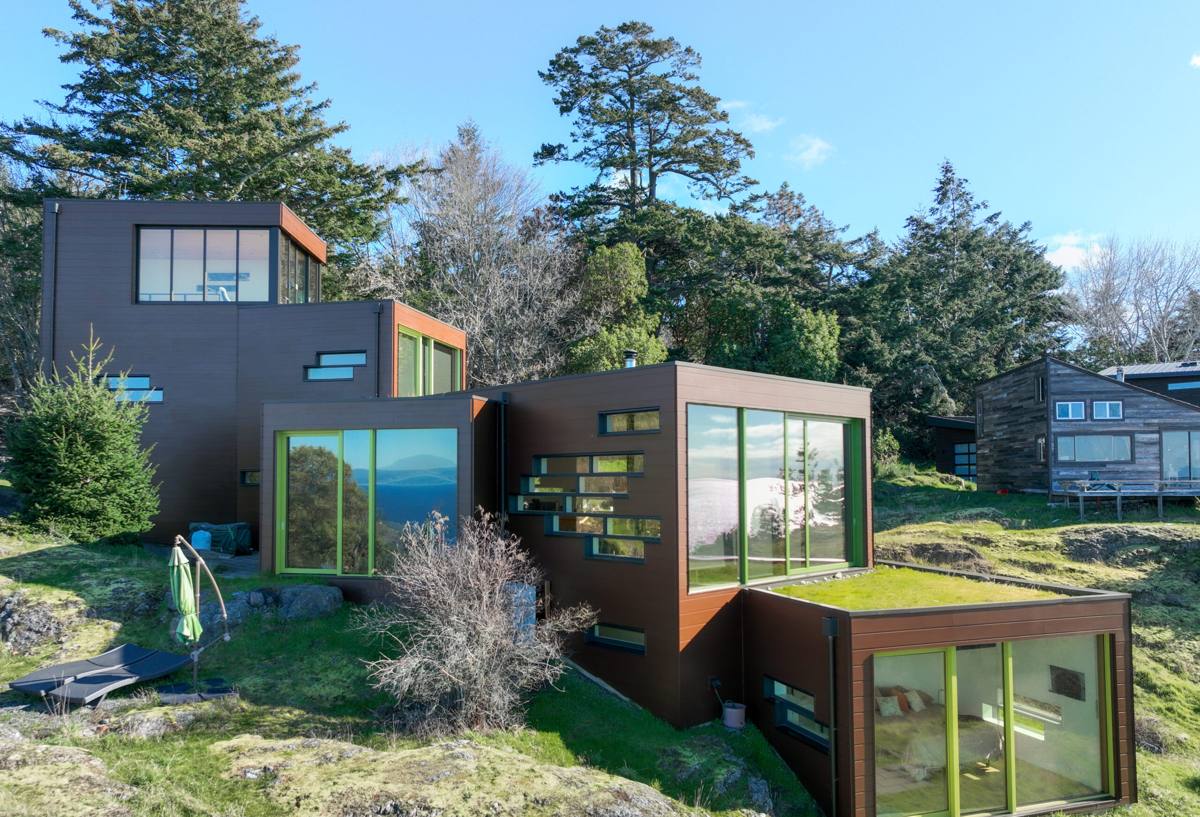
What Birch Bay Village Homes Actually Need From a Window
Corrosion resistance where hardware meets salt air
Cheaper window hardware — hinges, locks, cranks, balance mechanisms — can start showing pitting and stiffness within a few years this close to salt water, especially on the bay-facing side of a house. We favor window lines with hardware and finishes rated for coastal exposure, and we pay attention to which elevation gets the worst of it before recommending anything.
Water management, not just water resistance
No window is 100% waterproof under sustained wind-driven rain — the difference between a window that holds up and one that leaks is what happens to the water that does get past the outer seal. That's a flashing and drainage question as much as a product question, and it's where a lot of window problems in this area actually start.
Moisture tolerance around the frame
With moss and mildew active on shaded, damp surfaces for much of the year, we think about how the window opening breathes — proper weep paths, a drainage plane that isn't trapping water against sheathing, and materials that don't hold moisture against wood framing.
Quick self-check: is it time to replace?
- Fogging or a permanent haze between the panes of a double-pane window (failed seal)
- Visible daylight, drafts, or whistling around the frame during windstorms
- Wood trim or sill that's soft, discolored, or holding moss/mildew stains
- Hardware that's stiff, corroded, or won't lock flush anymore
- Condensation forming on interior glass or frames during cold, wet stretches
- Noticeably higher heating bills without another clear cause
What a Correct Installation Involves
Window installation quality is decided mostly by what happens before and around the window itself, not by the window unit alone. On a coastal property like this, we treat each of these steps as non-negotiable:
- Opening inspection. Before anything comes out, we check the existing framing, sheathing, and sill for hidden rot or moisture staining — common on older openings that have taken years of wind-driven rain.
- Proper flashing sequence. Sill pan flashing, side flashing, and head flashing installed in the correct shingle-lap order so water is always directed outward and down, never trapped behind the siding.
- Sealing that matches the exposure. Backer rod and sealant rated for exterior, coastal-adjacent conditions — not a generic caulk that dries out and cracks after a couple of wet seasons.
- Correct shimming and squaring. A window that isn't plumb and square will bind, won't seal evenly, and will wear its weatherstripping unevenly over time.
- Insulation at the gap. Low-expansion foam or backer material around the frame perimeter, sized to the actual gap so it insulates without bowing the frame.
- Interior and exterior trim-out. Finished cleanly and sealed to match the home, with attention to how the new window integrates with existing siding and trim.
Skipping or rushing any one of these steps is usually invisible on install day and shows up two or three winters later as a leak, a soft sill, or a foggy pane.
Full Replacement vs. Repair — What Actually Makes Sense
| Situation | Repair may be enough | Full replacement recommended |
|---|---|---|
| Failed seal (fogging) in a frame that's otherwise sound | Sometimes — insert replacement of the sash/glass | If the frame is also aging out |
| Hardware corrosion, frame still solid | Yes, in many cases | Not usually necessary |
| Soft or rotted sill, trim, or framing | No | Yes — repair alone won't stop the underlying moisture path |
| Drafts and energy loss across most windows in the house | Rarely a lasting fix | Yes, especially on older single-pane or early double-pane units |
| One or two problem windows, rest of home performing fine | Often, yes | Only those specific units |
We'll tell you honestly when a repair or single-window replacement is the right call instead of pushing a whole-house job you don't need.
Product Considerations for This Location
We work with vinyl and fiberglass window lines suited to Pacific Northwest coastal exposure, and we steer homeowners away from products or configurations we've seen struggle in this specific environment — not because a product is bad everywhere, but because certain finishes, hardware grades, or frame materials carry a higher maintenance burden this close to salt water and sustained damp weather. That's a professional judgment call based on how materials actually hold up here, not a knock on any manufacturer.
Glass packages matter too. For a bay-adjacent home, we typically talk through:
- Double or triple-pane glazing for both energy performance and condensation control during cold, wet months
- Low-E coatings to manage heat loss through our long heating season
- Frame material trade-offs — vinyl's low maintenance versus fiberglass's stability and strength, depending on the opening and elevation
- Grille and finish options that match the home's existing look, since replacement windows should read as original to the house, not bolted on
Our Process, Start to Finish
We keep the process straightforward because homeowners have enough going on without a confusing sales pitch:
- Free on-site assessment. We look at your actual windows, openings, and exposure — not a generic checklist.
- Honest recommendation. Repair, partial replacement, or full replacement, whichever actually fits what we find.
- Clear written estimate. Scope, materials, and timeline spelled out before any work starts.
- Careful removal and installation. Old windows and any compromised framing or sheathing removed properly — we don't install new windows over hidden rot.
- Full water-management install. Flashing, sealing, insulation, and trim done to the standard described above.
- Walkthrough and cleanup. We show you the finished work and leave the site clean.
Why a Crew That Already Works Birch Bay Village Matters
A window installer who mostly works drier inland neighborhoods can do fine work there and still get caught off guard by what a bay-facing elevation puts a window through over a decade. Knowing which direction the worst weather comes from in Birch Bay Village, how moss behaves on shaded north walls here, and which hardware and sealant choices actually hold up in salt air isn't something you learn from a manual — it's something you learn from doing the work in this exact area, season after season. That local pattern recognition is what keeps a window install from becoming a callback.
We also know the practical side of working in this community — typical home ages and construction styles, common problem spots on older openings, and what permitting or inspection expectations look like for window work in Whatcom County. None of that shows up in a brochure, but it shows up in how smoothly the job goes.
What Reasonable Costs Look Like
Window installation pricing depends on window count, size, frame material, glass package, and how much flashing or framing repair an opening needs once it's opened up. As a broad, honest range, single-window replacement on a straightforward opening typically runs from the low thousands per window installed, with whole-house projects scaling from there — and any opening with hidden rot or flashing damage will add to that. We won't know your real number until we've actually looked at your windows, which is exactly what the estimate is for.
Maintaining New Windows in This Climate
- Rinse salt residue off exterior frames and glass periodically, especially on bay-facing sides
- Check and clean weep holes each fall so drainage paths don't clog with debris
- Wipe down and lightly lubricate hardware annually to keep locks and cranks from stiffening or corroding
- Inspect exterior caulking and sealant yearly and address any cracking before the wet season
- Keep gutters and downspouts clear so roof runoff isn't dumping extra water near window openings
New windows installed correctly need very little from you — but a few minutes of seasonal attention goes a long way in this environment.
If your windows are drafty, fogged, stiff, or just showing their age, we're happy to take a look and give you a straight answer on what's actually needed. Reach out for a free, no-pressure estimate — use the form below to get started.