 Birch Bay Siding
 Building New in Bellingham? The Windows Are Not a Place to Cut Corners
If you're framing a new home or addition in Bellingham or anywhere around Birch Bay, the window installation is one of the few steps in the build that you genuinely cannot fix cheaply later. Once siding, trim, and interior finish go on top of a bad flashing job, the mistake is buried — and it usually doesn't show up as a problem until a few winters of Whatcom County storms have worked their way behind the cladding. We install new-construction windows on new builds in this area, and we set them up the way this specific climate demands: sealed to the weather-resistive barrier correctly, flashed in the right order, and matched to a frame material that will hold up to salt air and long wet seasons without babysitting.
New-construction windows are a different product and a different installation method than the replacement windows most homeowners are familiar with. They have a nailing fin around the perimeter of the frame that gets integrated directly into the wall's weather-resistive barrier (WRB) and flashing system before siding goes on. Done right, that fin becomes part of a continuous drainage plane that sheds water past the window opening no matter how hard the rain is blowing. Done wrong — flashed in the wrong sequence, sealed with the wrong product, or left with gaps at the corners — that same opening becomes the single most common place a new house starts leaking.
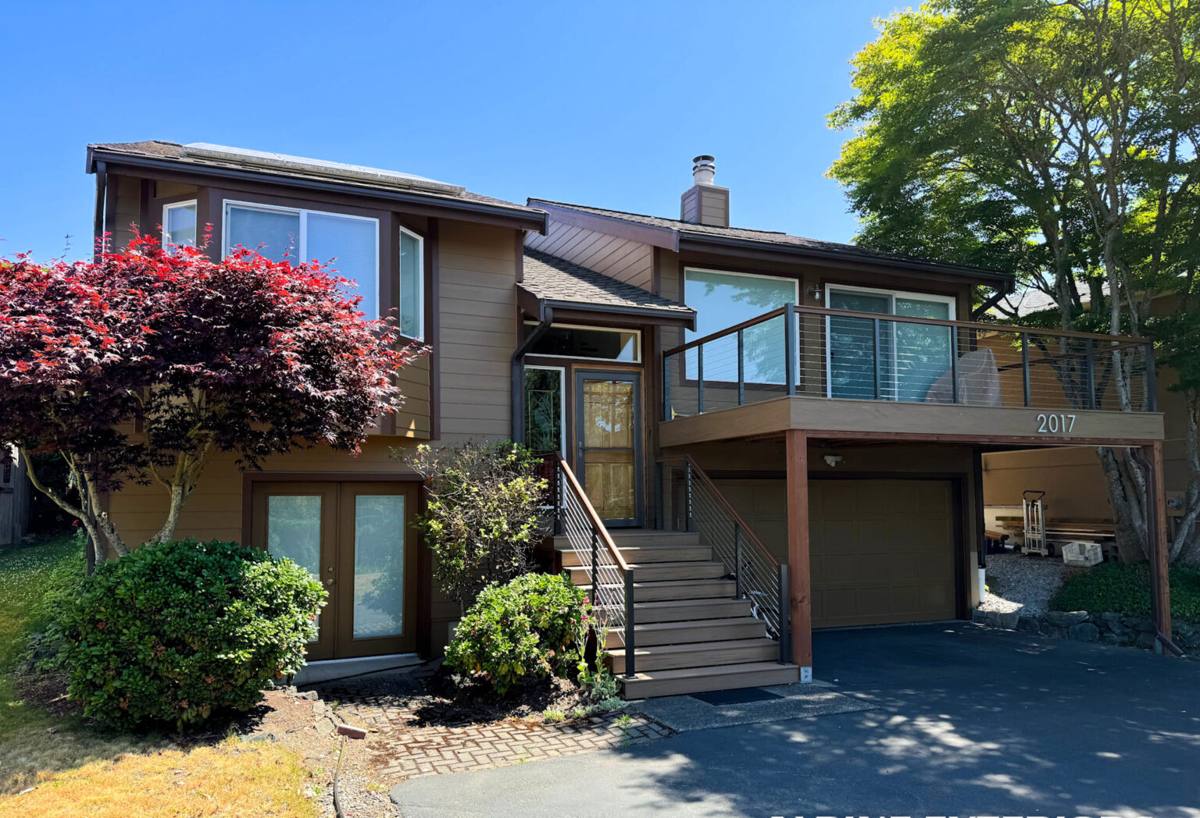
What Bellingham and Birch Bay Weather Actually Does to a Window Opening
Whatcom County sits right where marine weather meets a long, wet winter, and Birch Bay and the Bellingham area get the full combination.
- Salt air: Proximity to Puget Sound and the Strait of Georgia means airborne salt reaches exposed metal, fasteners, and lower-grade hardware over time. It doesn't damage vinyl or fiberglass frames the way it damages bare metal, but it does mean fastener and flashing metal selection matters more here than it would inland.
- Driving rain: Storms off the water frequently push rain sideways, not straight down. A window flashing detail that only handles vertical water — relying on caulk alone at the head, for example — will eventually fail here. The install has to assume wind-driven rain will hit the window from the side at some point every winter.
- A long moss and mildew season: Extended damp periods keep moisture sitting on and around window openings longer than in drier climates. Any trim, sill, or sealant detail that traps water instead of shedding it becomes a growth surface for moss and mildew, and eventually a rot risk in the framing underneath.
None of this means new-construction windows in Bellingham need to be exotic or unusually expensive. It means the flashing sequence, sealant choice, and frame material have to be chosen for a coastal climate, not a generic one.
What a Correct New-Construction Window Installation Involves
The window unit itself is only part of the job. What actually determines whether an opening stays dry for the next thirty years is the sequence of layers around it. On a proper install, in order:
- The rough opening is checked for square, level, and correct sizing before the window ever shows up on site.
- A sill pan flashing is installed first, sloped slightly to the exterior, so any water that does get past the window has somewhere to go besides into the framing.
- The window is set into the opening, shimmed level and plumb, and fastened through the nailing fin per the manufacturer's schedule — not just "enough nails to hold it."
- Flashing tape or self-adhered membrane goes over the fin at the jambs and head, integrated with the WRB in a shingle-lap sequence — meaning each layer overlaps the one below it, so water is always directed outward and down, never trapped behind a seam.
- The head flashing gets special attention, since that's the detail doing the most work against wind-driven rain coming off the water.
- Interior and exterior sealant joints are backed up correctly (not just caulked over a gap) so the seal has something to bond to and enough joint depth to move with temperature changes.
Skip or rush any one of those steps and the window can look perfect from the street while quietly letting moisture into the wall assembly. That's the failure mode we see most often when we're called in on an older new-build that was never done to this standard.
Why This Matters More on New Construction Than on a Remodel
On a remodel, a window is often the last thing installed into an opening that's already weathertight around it. On new construction, the window is part of the wall's primary defense against water from day one — there's no existing siding or WRB doing backup duty. That's exactly why the installation sequence above isn't optional detail work; it's the actual water management system for that section of wall.
Choosing a Frame Material for a Coastal Whatcom County Build
There's no single "best" frame material — the right call depends on budget, the home's design, and how much long-term maintenance the owner wants to take on. Here's how the common options hold up specifically in a Bellingham/Birch Bay coastal climate:
| Frame Material | Coastal / Moisture Performance | Maintenance | Typical Fit |
|---|---|---|---|
| Vinyl | Good — won't corrode or rot; performs well in salt air and driving rain when properly sealed | Low — no painting or refinishing needed | Most budget-conscious new builds |
| Fiberglass | Excellent — very stable in temperature swings and damp conditions, resists warping | Low — durable finish, occasional cleaning | Higher-end builds wanting longevity and slimmer sightlines |
| Wood-clad | Good on the exterior-clad face, but interior wood and any exposed wood detailing need real upkeep in a wet climate | Higher — finish and joints need periodic attention | Homeowners prioritizing interior wood appearance who accept the upkeep |
| Bare aluminum | Weakest choice here — more prone to condensation and, without a quality thermally broken and coated frame, more exposed to salt-air corrosion over time | Moderate to high | Generally not our recommendation for this climate unless it's a high-quality thermally broken commercial-grade product |
Our default recommendation for most new builds in this area is vinyl or fiberglass, both of which handle salt air and sustained moisture with minimal upkeep. We'll walk through the actual product lines and price points during your estimate rather than pushing one option — the right frame depends on your design, budget, and how the home is oriented to prevailing weather.
Glass and Performance Considerations for This Climate
Beyond the frame, a few glazing choices matter more here than in a drier, sunnier region:
- Double or triple pane with a quality low-E coating helps control condensation on the interior glass surface, which is common during our long damp winters when indoor humidity is higher than the cold outdoor air.
- Argon or krypton gas fill improves insulating performance without changing the look of the window — worth it on a new build where you're already paying for quality units.
- Warm-edge spacer systems reduce the chance of condensation forming right at the edge of the glass, which is where mildew tends to start on a window that gets it wrong.
Our Process for New-Construction Window Installs
We coordinate directly with your builder or general contractor, since window timing on a new build has to line up with framing and WRB installation.
- Plan review and measure: We review the build plans, confirm rough opening sizes, and place the window order to match your framing schedule so there's no delay waiting on product.
- Pre-install coordination: We confirm the WRB and flashing materials being used on the job so our flashing sequence integrates cleanly with the rest of the building envelope — this is where a lot of avoidable water problems get prevented before they start.
- Installation: Sill pan, window set, fin fastening, and shingle-lap flashing done in the correct order, on every opening, not just the ones that are easy to reach.
- Inspection and sign-off: We check each opening before siding covers it up, since that's the last point where a flashing mistake is cheap to catch.
Why a Local Crew Matters for This Job
New-construction window installation is detail work, and the details that matter change with the climate. A crew that mostly works inland or in a drier region may do competent work by their own local standard and still miss the specific things that matter on a Birch Bay or Bellingham lot — wind-driven rain direction relative to the site, how much salt exposure a given elevation gets, or how long moisture tends to sit on a north-facing wall through a Whatcom County winter. We work new builds in this specific area regularly, which means the flashing sequence, sealant choices, and frame recommendations we bring to your job are shaped by what actually holds up here, not by a generic install checklist.
A Quick Checklist If You're Working With a Builder
If you're a homeowner managing a new build and want to make sure your windows are handled correctly, these are worth confirming with your GC or window contractor:
- Is a sill pan flashing being installed under every window, not just the ones exposed to weather?
- Is the flashing sequence a proper shingle-lap (each layer overlapping the one below), not just tape slapped on after the fact?
- Is the head flashing detail specifically built to handle wind-driven rain, not just vertical runoff?
- What frame material is spec'd, and does it match your budget and how much long-term maintenance you're willing to take on?
- Will the openings be inspected before siding covers them, while a mistake is still cheap to fix?
Getting Started
If you're planning a new build or addition in Bellingham, Birch Bay, or elsewhere in Whatcom County, we're happy to walk through your plans, talk through frame and glazing options, and explain exactly how we'll flash and install your windows before you're locked into a schedule. There's no pressure and no cost to get an estimate — fill out the form below and we'll set up a time to talk through your project.