 Birch Bay Siding
 Building New in Cherry Point? The Windows Have to Be Right the First Time
If you're framing a new home or outbuilding near Cherry Point, the window installation step is one of the few parts of the build you don't get a second chance at. Once siding, trim, and interior finishes go on, a poorly flashed window becomes a hidden problem instead of a visible one. That's a bigger deal here than in a lot of places. Cherry Point sits right on the water in Whatcom County, which means new construction has to account for salt-laden air, wind-driven rain off the Strait of Georgia, and the long gray stretch of moss season that follows every fall and winter. Windows installed correctly the first time shrug all of that off for decades. Windows installed with shortcuts start showing problems in three to five years, usually right when they're hardest to trace back to the source.
New-construction window work is a different trade than window replacement, even though both involve the same product. Replacement crews work around existing siding and trim. New-construction crews are installing into open framing, before the weather-resistive barrier and siding go on, which means every flashing decision they make becomes permanently buried behind finished walls. There's no going back to fix a bad detail without tearing into brand-new siding. That's why this stage deserves a crew that treats it as its own discipline, not a quick stop on the way to the next job.
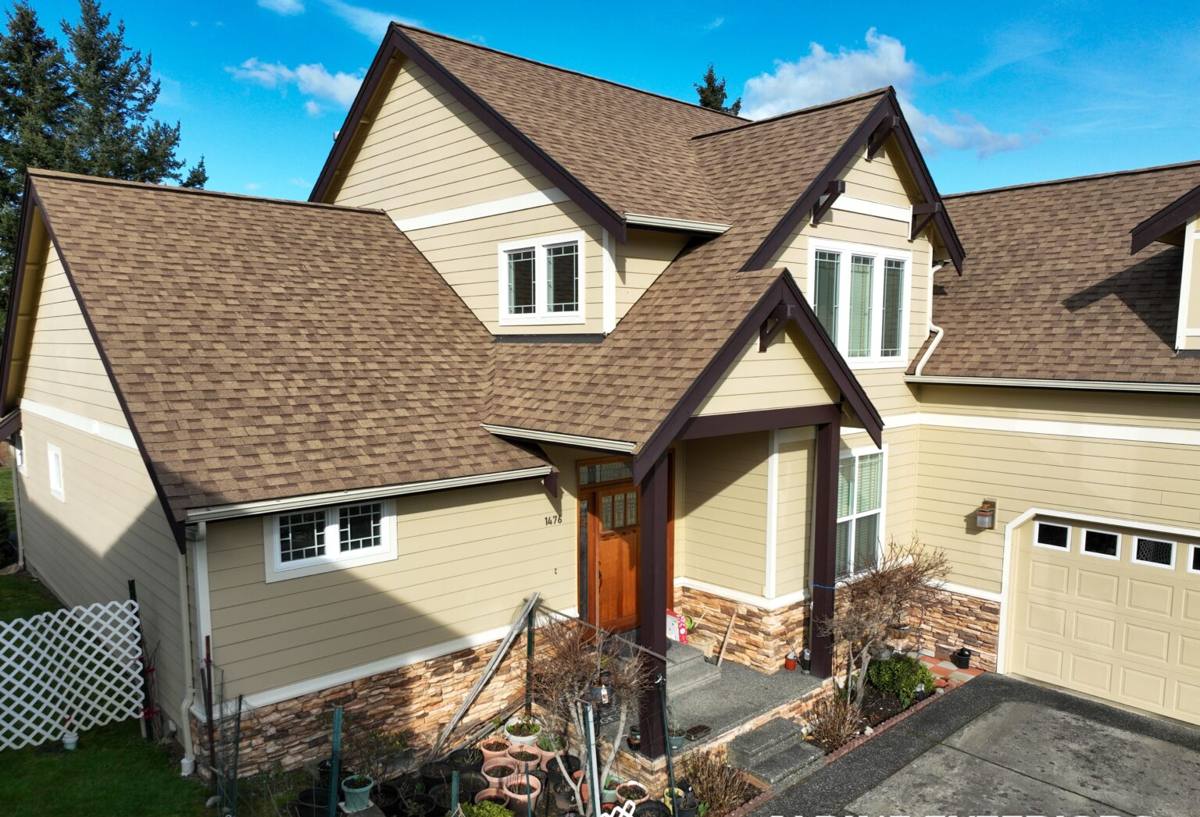
What Cherry Point's Climate Actually Does to a Window Opening
Whatcom County's marine climate is mild compared to a lot of the country, but "mild" doesn't mean easy on building materials. Three things matter most for new-construction window openings out here:
Salt Air and Corrosion
Proximity to the water means airborne salt settles on and around exterior components year-round. Over time it accelerates corrosion on unprotected metal fasteners, cheap flashing, and lower-grade hardware. This is a fastener and flashing-material decision as much as it's a window decision — the wrong screws or flashing tape can start failing quietly while the window itself is fine.
Wind-Driven Rain
Rain here rarely falls straight down. Storms off the water push moisture sideways and upward, right into the gaps around window openings that a calm-weather installation might get away with. New construction gives us the advantage of building the drainage path correctly from the studs out, before that becomes an issue.
Moss, Shade, and Standing Moisture
Whatcom County's long wet season keeps north- and shade-facing walls damp for months at a time. Moss and algae growth on sills and trim isn't just cosmetic — sustained moisture against wood trim or poorly sealed nailing flanges is exactly the condition that leads to slow rot behind the wall. Getting drainage and sealant details right at installation is cheaper than dealing with hidden rot later.
The Anatomy of a Correct New-Construction Window Install
A window opening isn't just a hole with a window screwed into it. In new construction, done right, it's a layered water-management system. Skipping or rushing any layer is where problems start.
- Rough opening prep: checked square, plumb, and sized correctly before anything else happens.
- Sill pan flashing: a sloped, sealed pan at the bottom of the opening that captures any water that gets past the window and directs it back outside instead of into the framing.
- Weather-resistive barrier (WRB) integration: house wrap or building paper lapped correctly so water sheds down and over each layer like shingles, never trapped behind a seam.
- Window flashing tape or flexible flashing: applied at the jambs and head in the correct shingle-lap sequence, tying the window into the WRB as one continuous water-shedding plane.
- Fastening per manufacturer spec: corrosion-resistant fasteners, correct spacing, and correct shim placement so the frame isn't racked or bowed, which affects both the seal and how the sash operates for years to come.
- Head flashing with drip edge: to kick water away from the top of the window rather than letting it run down the face of the frame.
- Interior and exterior sealant: backer rod and sealant at the right joints — not everywhere, since sealing the wrong joint can trap moisture instead of releasing it.
Every one of those steps is invisible once siding goes up. That's exactly why the crew doing the work, and their habits when no one's double-checking, matter more here than almost anywhere else in the build.
Choosing the Right Window for a Coastal Whatcom County Site
Frame material and glazing package both affect how a window performs against salt air, rain, and years of gray, humid weather. There's no single "best" choice for every home — it depends on budget, exposure, and how the house is oriented — but here's how the common options generally compare for this climate:
| Frame Material | Coastal / Moisture Performance | Maintenance | Typical Cost Position |
|---|---|---|---|
| Vinyl | Good — won't rot or corrode; performance depends on quality of the extrusion and welded corners | Low | Entry to mid |
| Fiberglass | Very good — dimensionally stable in temperature swings, resists moisture-related warping | Low | Mid to upper |
| Wood-clad (aluminum or vinyl clad) | Good on the exterior face if cladding and flashing details are correct; interior wood still needs normal upkeep | Moderate | Upper |
| Aluminum | Prone to condensation and corrosion issues in marine air unless thermally broken and properly finished | Moderate | Varies |
For most new builds in the Cherry Point and Birch Bay area, we steer homeowners toward vinyl or fiberglass units with a proven track record in Pacific Northwest marine climates, paired with a glazing package rated for the wind exposure of the specific lot. A window facing open water or prevailing storm direction may warrant a higher wind-load and water-penetration rating than one tucked on a sheltered elevation — that's a site-specific call, not a one-size answer.
How Our New-Construction Window Process Works
1. Plan Review and Site Walk
Before any window is ordered, we review the plans and walk the framed structure to confirm rough openings, header sizes, and exposure on each elevation. This is also when we flag any framing corrections needed before windows can go in correctly.
2. Product Selection and Ordering
We help match frame material, glazing, and performance ratings to the home's exposure and the owner's budget, then place orders with enough lead time to avoid holding up the build schedule.
3. Flashing and Installation
Each opening gets sill pan flashing, correctly lapped WRB integration, and manufacturer-spec fastening. We install in the sequence that keeps every layer shedding water downward and outward, not the fastest sequence — the correct one.
4. Quality Check Before Siding Closes It In
Because everything after this point gets buried, we inspect every opening before the siding crew closes the wall. This is the last point where a flashing mistake is a five-minute fix instead of a tear-out.
5. Final Adjustment and Walkthrough
Once siding and trim are complete, we check operation, weatherstripping contact, and hardware function on every unit, and walk the homeowner or builder through basic care.
Mistakes We See on New Builds — and How We Avoid Them
Most window problems in new construction don't come from a bad product. They come from installation shortcuts that are cheap to skip and expensive to fix later:
- WRB lapped backward or taped out of sequence, so water runs behind the seam instead of over it
- No sill pan, or a flat instead of sloped pan, leaving nowhere for incidental water to drain
- Fasteners driven through the flange at the wrong spacing or angle, racking the frame slightly out of square
- Sealant applied at the wrong joint, trapping moisture that needs to escape instead of letting it drain
- Head flashing skipped because "the siding will cover it anyway"
- Rushing the pre-siding inspection step, or skipping it entirely
None of these show up on install day. They show up as a stain on the drywall below a window two winters later, or soft trim that wasn't soft when it was installed. Slowing down at this stage is the whole job.
Working Alongside Your Builder or General Contractor
On most new-construction projects, we're one trade among several working to a schedule set by a general contractor or the homeowner acting as their own GC. We coordinate window delivery and installation around the framing and dry-in schedule so the building envelope closes up on time, communicate clearly if a rough opening needs correcting before we can proceed, and document the pre-siding inspection so there's a clear record of what's behind the wall before it's covered. If you're owner-building or managing subs directly, we're comfortable working straight with you rather than only through a GC.
After Move-In: What to Check Each Year
A correctly installed window in this climate needs very little from the homeowner, but a short annual check catches small issues before they become repairs:
- Clear debris and moss buildup from sills and exterior trim, especially on shaded or north-facing walls
- Check that exterior caulk lines at the frame perimeter are still intact, with no cracking or gaps
- Test that weatherstripping still makes full contact when the sash or casement is closed
- Look for any soft spots in wood trim or sills, particularly after the wet season
- Confirm weep holes on the exterior sill (where applicable) are clear and draining, not painted or caulked shut
Catching a small gap in caulk or a clogged weep hole during a five-minute check is a much better outcome than dealing with trapped moisture behind the wall a few years down the road.
Why Local, Cherry Point-Familiar Experience Matters
Whatcom County's coastline isn't uniform — exposure, wind direction, and moisture load vary block by block depending on how a lot sits relative to the water and prevailing weather. A crew that regularly works the Birch Bay and Cherry Point area has a working sense of which elevations on a given lot need the extra attention, without treating every wall the same way a generic checklist would. That local pattern recognition, combined with a disciplined, repeatable flashing process, is what keeps new-construction windows performing quietly in the background for the life of the house instead of becoming a callback.
If you're planning new construction or an addition in the Cherry Point area and want windows installed by a crew that treats the flashing details as seriously as the product itself, we're happy to walk your plans or framed site and put together a free, no-pressure estimate.