 Birch Bay Siding
 Building New in Custer? The Windows Need to Match the Coastline
Custer sits close enough to Birch Bay and the Strait of Georgia that new-construction homes here deal with a different set of conditions than a build twenty miles inland. Salt-laden air, wind-driven rain off the water, and a moss season that stretches through most of the wet months all put steady stress on a building envelope from day one. When you're framing a new home or an addition, the window install is one of the few chances you get to do this right the first time — before siding, trim, and interior finish work close everything up around it.
New-construction window work is different from a replacement job. There's no old frame to match, no existing flashing to work around, and no interior finish to protect. That's an advantage — it means the window can be integrated into the wall assembly the way it's actually supposed to be, with full access to sheathing, house wrap, and framing. But it also means there's no room for shortcuts, because whatever gets built into the wall now is what you're living with for the next several decades.
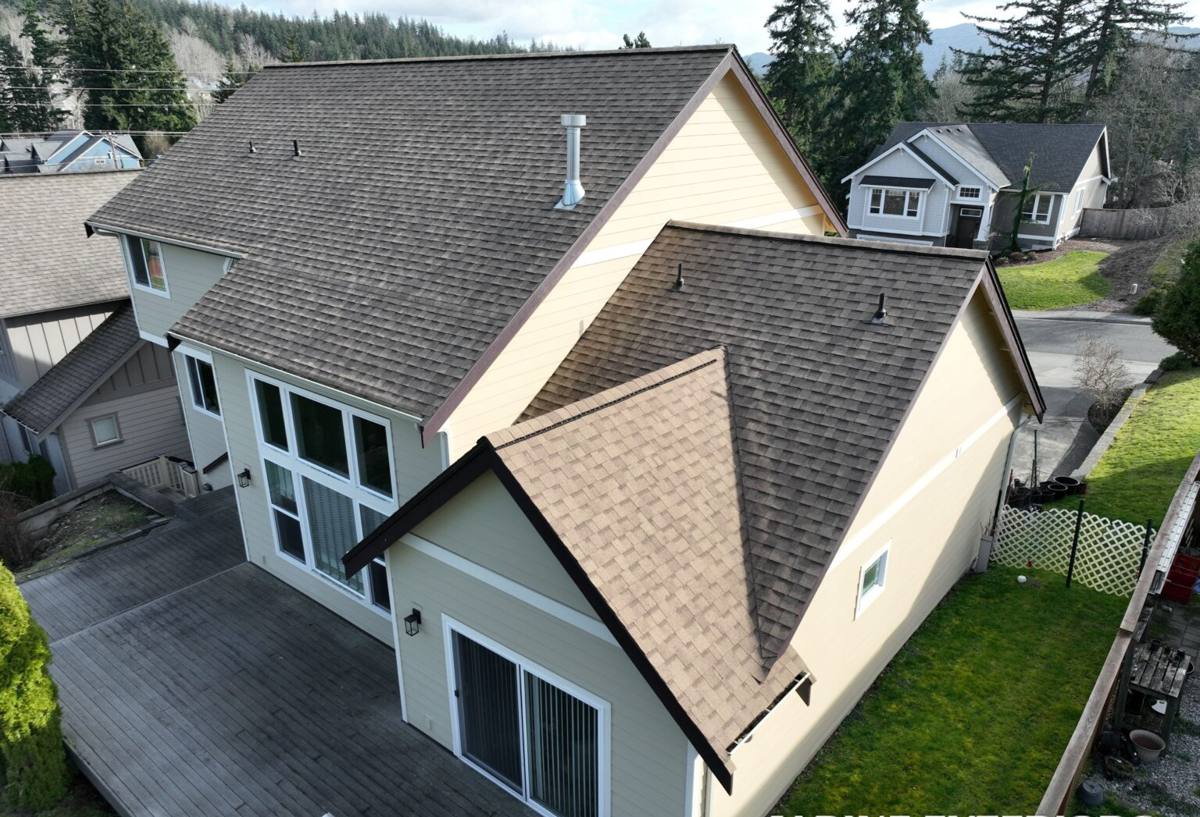
What Whatcom County's Coastal Climate Actually Does to a Window Install
We're not just talking about rain totals. It's the combination of factors that makes Custer and the broader Birch Bay area a tougher environment for window installations than a lot of contractors are used to working in:
- Wind-driven rain: Storms coming off the water push rain sideways into wall assemblies, not just straight down. A flashing detail that would hold up fine in a calmer inland setting can leak here if it's not built for lateral water pressure.
- Salt air corrosion: Proximity to saltwater accelerates corrosion on fasteners, flashing metal, and hardware that isn't rated for it. Standard-grade screws and staples can start showing rust well before an inland install would.
- Sustained moisture and moss growth: Long stretches of damp weather keep exterior surfaces wet longer, which is exactly the environment moss and mildew need. Window sills, trim, and the transition between window and siding are common spots where moisture sits if the details aren't sloped and sealed correctly.
- Temperature swings between marine layer mornings and clear afternoons: Materials expand and contract daily. Sealants and flashing tapes that aren't rated for this cycling can fail years before they should.
None of this means new construction in Custer is a special challenge that requires exotic materials. It means the standard details — flashing sequence, sealant selection, fastener spec — need to actually be followed, not approximated. That's where a lot of window problems in this area start: not with a bad window, but with an installer who treated a coastal wall assembly like an inland one.
What a Correct New-Construction Window Install Involves
The Rough Opening and Flashing Sequence
Before a window ever goes in, the rough opening has to be built to the manufacturer's tolerances — square, level, and sized with the correct margin for shimming and expansion. Then comes the flashing, which is the single most important part of the entire install in a climate like this. The sequence matters: sill pan flashing goes in first to catch any water that gets past the window, then side flashing, then head flashing that laps over the top in the correct shingle-style order so water is always directed outward and down, never trapped behind a layer.
Sill Pan Protection
In a wind-driven rain environment, a sill pan isn't optional. It creates a sloped, sealed pocket under the window that catches incidental water — whether from wind-forced rain or eventual seal wear years down the line — and directs it back outside instead of into the wall cavity below. This is one of the details that's dramatically easier to get right during new construction than it ever is on a retrofit.
Fasteners and Hardware
Given the salt air exposure this close to the water, fastener choice matters more here than in a lot of other parts of the state. Corrosion-resistant fasteners and flashing components are worth the modest upcharge, because replacing rusted-through fasteners after the siding and trim are already closed up is a much bigger job than it needed to be.
Sealant and Weather Barrier Integration
The window has to tie into the house wrap or weather-resistant barrier correctly, with sealant compatible with both the window frame material and the barrier itself. Mixing incompatible sealants and tapes is a common source of early failure — some products simply don't bond to each other long-term, and that shows up as a leak two or three years later, long after the crew that installed it has moved on.
Choosing Windows for a Custer New Build
New construction gives you real flexibility on frame material, glazing package, and performance rating, since you're not constrained by an existing opening. For this area, we generally steer homeowners toward:
| Factor | What to Look For in This Climate |
|---|---|
| Frame material | Vinyl or fiberglass with UV and moisture-stable formulations; both hold up well to sustained damp exposure without the maintenance burden of bare wood |
| Glazing | Dual-pane with low-E coating and argon fill is the practical standard for this region's mix of damp cold and marine-layer humidity |
| Weatherstripping | Quality compression seals that stay pliable in cooler, damp conditions rather than stiffening and losing seal over time |
| Hardware finish | Corrosion-resistant coatings on locks and hinges, given the salt air proximity |
| Drainage design | Frames with built-in weep systems that actively drain incidental moisture rather than relying solely on sealant |
We're happy to walk through specific manufacturer options and glazing packages once we know the scope of your build. What matters most at the planning stage is making sure the window spec and the installation detail are designed to work together — a great window with a mediocre install underperforms a mid-grade window installed correctly.
Why This Should Be Done Before Siding Goes On
Sequencing matters more than most homeowners expect. Window installation, flashing, and the weather barrier integration all need to happen before siding closes up the wall. Once siding is on, inspecting or correcting a flashing detail means pulling material back off — which is exactly the situation we get called out for on older homes in this area more often than we'd like. Getting it right during the new-construction phase, while everything is still open and accessible, is the cheapest and most reliable point in the entire build to get this correct.
This is also the stage where coordination with your builder or general contractor matters. We work directly with framing crews and GCs on new builds in the Birch Bay area so the window install lines up with the rest of the envelope work — house wrap, flashing tape, and siding prep — instead of happening in isolation.
Our Process for New-Construction Window Installs
- Plan review: We look at the build plans or work directly with your builder to confirm rough opening sizes, window schedule, and any structural considerations before ordering.
- Product selection: We walk through frame material, glazing, and performance options suited to a coastal build, with straightforward pricing at each tier.
- Site coordination: We schedule the install to fit the framing timeline so windows go in at the right point — after rough framing, before house wrap closes the opportunity to inspect from outside.
- Flashing and install: Sill pan, side flashing, head flashing, and weather barrier integration, done in the correct sequence with fasteners and sealants rated for salt air and sustained moisture exposure.
- Walkthrough: Before we leave, we walk the openings with you or your builder so everyone can see the flashing and sealant work before it's covered by siding.
A Local Crew That Already Knows Custer and Birch Bay
There's a real difference between a crew that installs windows across the whole state and one that regularly works this specific stretch of Whatcom County coastline. We already know which details need extra attention in Custer and Birch Bay — the wind exposure on water-facing walls, the moss growth patterns on north-facing elevations, and how differently a sealant performs here compared to a drier inland build. That's not something you can fully substitute with a spec sheet; it comes from doing the work in this climate repeatedly.
Working with a crew based in the area also means faster response if anything needs a look during the build, and a contractor who has a reputation to maintain with the builders and homeowners we already work with locally — not a one-time install and a phone number that changes.
Before You Finalize Your Window Order
- Confirm your builder's rough opening sizes match the window manufacturer's specs before ordering — mismatches cause delays.
- Ask what sill pan flashing method will be used, and make sure it's included in the install, not treated as an upgrade.
- Choose fasteners and hardware rated for coastal/salt air exposure, not standard interior-grade hardware.
- Verify the sealant and tape products being used are compatible with both the window frame and your house wrap.
- Schedule the window install to happen before siding closes up the wall, with time for a walkthrough of the flashing work.
- Get the glazing package and performance ratings in writing so you know exactly what's being installed.
If you're planning a new build or addition in Custer or elsewhere around Birch Bay, we're glad to talk through your window plans and put together a straightforward estimate — no pressure, no sales script, just a clear look at what your project needs. Reach out using the form below to get started.