 Birch Bay Siding
 New Roof Installation on Lummi Island: What the Climate Actually Demands
Lummi Island sits out in the salt air with nothing but open water and wind between it and the weather rolling in off Rosario Strait and the Salish Sea. That's a very different environment than a roof a few miles inland in Whatcom County. Salt-laden air accelerates corrosion on fasteners and flashing, driving rain gets pushed sideways under laps and around penetrations, and heavy tree cover on many island lots means shaded, slow-drying roof sections that grow moss for most of the year. A new roof here isn't just a bigger version of a mainland job — it's a system that has to be built to shrug off all three at once, for decades, with no easy same-day access if something's overlooked.
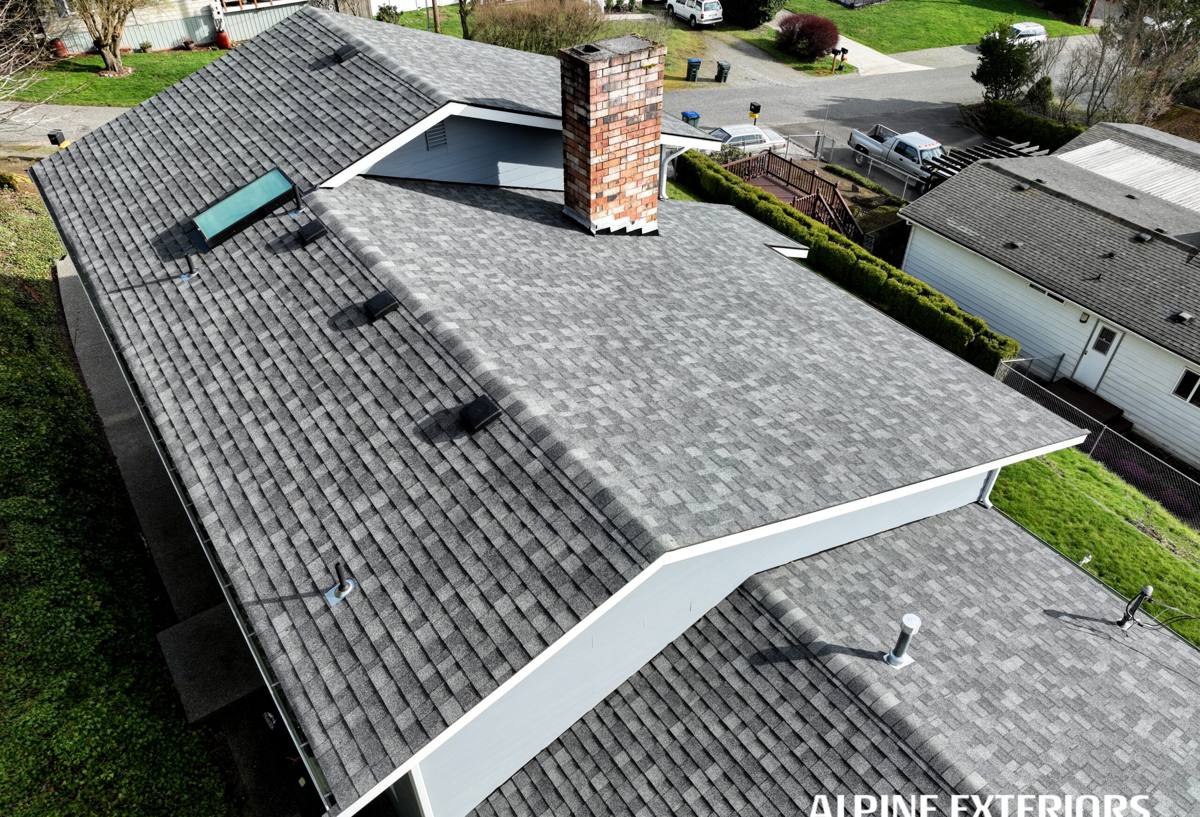
Why Lummi Island Roofs Wear Differently Than Inland Homes
Salt Air and Metal Fasteners, Flashing, and Trim
Standard electro-galvanized fasteners and lightweight flashing hold up fine in a lot of climates, but marine-influenced air speeds up corrosion — and once fasteners or flashing start to rust, leaks follow even if the shingles or panels above look fine. On island roofs we lean toward stainless or high-grade coated fasteners and heavier-gauge flashing stock, especially at valleys, chimneys, and any metal-to-metal contact points where corrosion starts first.
Wind-Driven Rain and Underlayment Performance
Open exposure means rain doesn't always fall straight down — it gets driven sideways under shingle tabs, around vent boots, and up under starter courses if the details aren't tight. A roof built for this needs full underlayment coverage (not just at eaves and valleys), properly lapped and sealed penetrations, and fastening patterns that account for higher sustained wind loads than a sheltered inland lot would ever see.
Moss, Shade, and Roof Slope
A long moss season is normal for this part of Washington, but shaded, low-slope, or north-facing sections of an island roof can stay damp for weeks at a stretch. Moss isn't just cosmetic — its root structure lifts shingle edges and holds moisture against the roof deck, which is exactly how slow leaks and deck rot get started. Material choice, slope, and ventilation all factor into how much of a moss problem a given roof will have five and ten years down the road.
Signs a Lummi Island Home Needs a New Roof, Not Just a Repair
Repairs make sense for isolated damage on an otherwise sound roof. A full replacement is the right call when the underlying system — not just the surface — has started to fail. Watch for:
- Shingles that are cupping, curling, or losing granules across large sections, not just one spot
- Moss buildup thick enough that it's lifted shingle tabs or is visibly holding water against the roof
- Soft or spongy spots underfoot on the roof deck, or sagging visible from the ground
- Rust streaking or pitting on flashing, especially around chimneys, vents, and valleys
- Daylight visible through the roof deck from inside the attic, or water stains on interior ceilings
- A roof already past 20-25 years old (for asphalt) that's showing multiple of the signs above at once
- Repeated repair calls to the same areas of the roof within a couple of years
If only one or two of these apply and the rest of the roof is solid, a targeted repair is usually the honest recommendation. We'll tell you which situation you're actually in before quoting a full replacement.
What a Correctly Installed New Roof Includes
Tear-Off and Deck Inspection
We don't install a new roof over an old one, and we don't recommend it — it traps moisture, hides deck damage, and voids most manufacturer warranties. A full tear-off lets us inspect the actual roof deck for soft spots, rot, or delamination from years of moss and moisture, and replace any damaged sheathing before anything new goes down. Skipping this step is the single most common reason a "new" roof fails early.
Underlayment and Ice-and-Water Barrier
Given the driving rain this area sees, we run synthetic underlayment across the full roof deck rather than the bare minimum code allows, with self-adhering ice-and-water barrier at eaves, valleys, and around every penetration. This is the layer that protects the house if wind ever drives water up under the primary roofing material — it matters more here than it does on a sheltered inland roof.
Flashing Details That Actually Shed Water
Most roof leaks trace back to flashing, not the field material. Step flashing at walls, properly integrated counter-flashing at chimneys, and correctly lapped valley metal are what keep water moving off the roof instead of finding a way in. On a salt-air site we spec heavier, more corrosion-resistant flashing than the industry minimum, because thin flashing is where premature failure shows up first.
Ventilation Sized for the Roof, Not Just Code Minimum
Balanced intake and exhaust ventilation keeps the underside of the roof deck dry, which matters directly for moss resistance and shingle life. A roof that's under-ventilated stays damp longer after every rain, and on a shaded island lot that difference compounds year over year.
Roofing Material Options for Lummi Island Conditions
There's no single "best" roofing material for every home here — the right choice depends on the home's exposure, slope, budget, and how much moss maintenance the owner wants to sign up for long-term.
| Material | Performance in Salt Air / Rain | Moss Resistance | Typical Lifespan |
|---|---|---|---|
| Architectural asphalt shingle | Solid with proper flashing and fasteners; good value | Moderate — benefits from algae-resistant granules and good ventilation | 25-30 years |
| Standing seam metal | Excellent water shedding on driving rain; needs corrosion-rated fasteners near saltwater | High — sheds moss more readily due to slick, steep-friendly surface | 40-50+ years |
| Cedar shake | Traditional look, but needs disciplined maintenance in wet, salt-exposed settings | Low without regular treatment and cleaning | 20-30 years with upkeep |
We'll walk through these trade-offs honestly for your specific roof — including where a lower-maintenance option might save more money over 20 years than a cheaper install does today.
Our Process for a Lummi Island Roof Installation
- On-site assessment: We look at slope, shade patterns, existing moss and water damage, and flashing condition before quoting anything.
- Material and logistics planning: Because Lummi Island is ferry-accessed, we plan material deliveries and crew scheduling around ferry timing so the job runs on a predictable timeline rather than getting stretched out by transport gaps.
- Tear-off and deck repair: Full removal of old roofing, deck inspection, and replacement of any compromised sheathing.
- Underlayment, flashing, and ventilation installation: Built to the standards described above, not the bare code minimum.
- Field material installation: Shingles, metal panels, or shakes installed per manufacturer specification to keep warranty coverage intact.
- Final walkthrough: We review the completed roof with you, including care instructions specific to moss and salt exposure.
Cost Factors for a New Roof on Lummi Island
Every roof is priced on its own specifics, but a few factors move the number more than others on island projects:
| Factor | Why It Affects Cost |
|---|---|
| Roof size and pitch | More surface area and steeper pitches mean more material and labor time |
| Material choice | Metal and cedar carry a higher upfront cost than architectural asphalt; each has different long-term maintenance costs |
| Deck condition | Rot or delamination found at tear-off adds sheathing replacement to the scope |
| Ferry logistics | Material freight and crew transport to the island are factored into scheduling and cost, similar to other ferry-access work in the region |
| Flashing and ventilation upgrades | Building past code minimum for salt-air durability adds modest cost but reduces long-term repair risk |
We'll give you a clear, itemized estimate before any work starts — no vague allowances, no surprises once the tear-off begins.
Maintenance After Installation: Keeping Moss and Salt Wear in Check
A well-installed roof still benefits from a little upkeep in this climate. Keep gutters and valleys clear of needles and debris so water doesn't pool and feed moss growth. Have the roof looked at every couple of years for early moss regrowth, especially on shaded sections, and address it while it's still surface-level rather than waiting until it's lifted shingle edges. Rinse off heavy moss buildup gently rather than pressure-washing, which can strip granules and shorten shingle life. None of this is intensive, but a roof that gets a little attention lasts noticeably longer out here than one that's ignored until something leaks.
Why Hiring a Crew That Already Works Lummi Island Matters
A contractor who hasn't worked island jobs before will often underestimate two things: how much ferry scheduling affects project timelines, and how much harder salt air and moss are on a roof than they expect from mainland Whatcom County experience alone. A crew that already routes material deliveries and labor around ferry access keeps your project moving instead of stalling out waiting on a missed trip. And a crew that's seen how island roofs actually fail — at the flashing, at the fasteners, in the shaded valleys — builds accordingly from day one instead of learning it the hard way on your house.
If you're weighing a new roof for a Lummi Island home, we're happy to take a look and give you a straight answer on what your roof actually needs. Reach out for a free, no-pressure estimate using the form below.