 Birch Bay Siding
 Building New in Ferndale Means Building for a Wet, Salty Climate
Ferndale sits close enough to the water that homes going up here deal with a different set of conditions than a build twenty miles inland. Salt-laden air moving off the Strait of Georgia and the bays around Birch Bay, driving rain that comes in sideways during winter storms, and a moss season that can run most of the year on shaded elevations all put stress on a building envelope before the paint is even dry. New-construction windows are one of the first things installed once the shell is framed and wrapped, and if that installation isn't done right, the mistakes get buried behind siding and trim for years before they show up as rot, staining, or a soft spot under a windowsill.
This page is about doing that one job — new-construction window installation — correctly for a Ferndale build, not about windows in general. We work in Whatcom County regularly, and the details below reflect what actually holds up here.
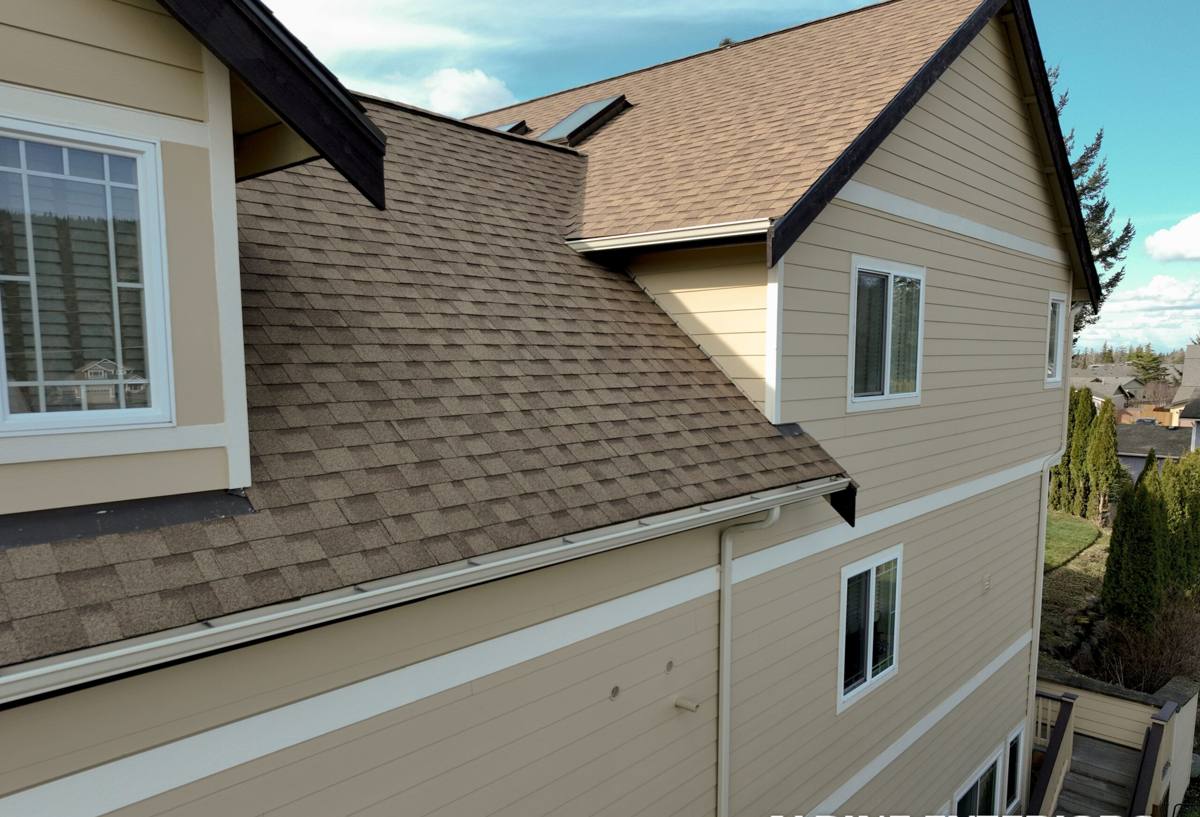
What "New-Construction" Windows Actually Means
New-construction windows are built with a nailing fin (also called a nail flange) around the perimeter of the frame. That flange gets fastened directly to the sheathing and integrated into the weather-resistive barrier (housewrap or building paper) before siding goes on. This is different from a replacement or retrofit window, which is designed to fit into an existing opening without disturbing the exterior finish.
On a new build or an addition in Ferndale, the nail-fin approach is almost always the right call, because it lets us build a proper drainage plane around the window from scratch — flashing tape, sill pan, housewrap laps — instead of working around finished siding. Getting this stage right is what determines whether a window opening stays dry for the next thirty years or becomes a slow leak point nobody notices until there's visible damage.
Why This Stage Gets Rushed on Some Jobs
Window installation on a new build usually happens on a tight schedule, squeezed between framing inspection and getting the house dried in before siding and interior work start. That time pressure is exactly when shortcuts happen — skipping a sill pan, taping in the wrong order, or using whatever fasteners are on the truck instead of ones rated for a coastal environment. A crew that's paid by the window and moving to the next job doesn't always slow down for the details that matter in this climate.
Why Ferndale's Climate Changes the Install
Salt Air and Corrosion
Homes closer to Birch Bay and the surrounding shoreline see airborne salt that accelerates corrosion on fasteners, flashing metal, and hardware. Standard electro-galvanized nails and screws can start showing rust streaks on siding and trim within a few years in this exposure. We fasten with stainless or hot-dip galvanized hardware around window openings in these areas, and we spec flashing metals that won't react with salt-laden moisture over time.
Driving, Wind-Blown Rain
Whatcom County storms frequently push rain sideways rather than straight down, which means water gets forced up under gaps that would stay dry in a calmer climate. A window flashing detail that would pass in a drier region can fail here because it wasn't designed to shed water moving horizontally or being driven upward by wind pressure at the wall.
Extended Moss and Damp Season
North- and west-facing walls in this area can stay damp for months at a stretch, which is exactly the environment moss and algae need to take hold. Moss itself doesn't rot a window, but it holds moisture against trim and sealant joints far longer than they'd otherwise sit wet, which shortens the life of caulking and can hide early signs of a leak until the damage is more advanced.
The Flashing and Weatherproofing Sequence We Follow
New-construction window performance is decided almost entirely by sequencing — what goes on first, what laps over what, and where water is directed if it gets past the first line of defense. This isn't a spot where "close enough" holds up in this climate.
- Rough opening is checked for square, level, and correct dimensions before the window ever gets set
- A sloped sill pan with end dams is installed at the bottom of the opening so any water that gets in has somewhere to go besides the framing
- Flashing tape is applied in proper shingle-lap order — sill, then jambs, then head — so every layer sheds water onto the layer below it
- The window is set, shimmed, and fastened through the nailing fin per the manufacturer's schedule, using corrosion-resistant fasteners
- Housewrap is integrated over the fin at the jambs and head, with the head flashing lapped over the housewrap so water is directed out and away, never behind it
- A drip cap or head flashing is added above the window before siding closes in the opening
- Backer rod and exterior sealant are applied at the final trim line, not as a substitute for flashing but as a secondary seal
- Interior air sealing is completed around the frame before insulation and drywall close up the wall cavity
Every one of those steps matters on its own, but they only work as a system. A good sill pan behind a badly lapped house wrap still lets water into the wall assembly — it just takes longer to show up.
Choosing the Right Frame Material for This Climate
Frame material affects how well a window holds up to salt air, temperature swings, and near-constant moisture exposure. There's no single right answer for every home, but the trade-offs are worth understanding before a build spec is locked in.
| Frame Material | Moisture & Salt Air Performance | Maintenance | Typical Fit |
|---|---|---|---|
| Vinyl | Won't corrode or rot; performs well in coastal air | Low — occasional cleaning | Budget-conscious builds, rentals, most residential new construction |
| Fiberglass | Excellent — dimensionally stable through temperature and humidity swings, resists corrosion | Low | Higher-end new builds, homes closer to the water |
| Wood-Clad | Good if cladding and seals stay intact, but exposed wood or failed cladding is vulnerable to the damp season here | Higher — cladding joints and any exposed wood need periodic inspection | Homes prioritizing a specific interior wood look |
| Aluminum | Conducts cold and can condense heavily in this climate; corrosion resistance depends on finish quality | Moderate | Less common in residential builds here outside of specific architectural styles |
We'll talk through which option fits your build, your budget, and how close the lot sits to the water — that last part genuinely changes the recommendation.
Energy Code and Condensation Considerations
Whatcom County falls under Washington's marine climate zone for energy code purposes, which sets minimum performance requirements for window U-factor and solar heat gain. Beyond meeting code, the bigger practical issue in this climate is condensation control. Long stretches of cool, damp, overcast weather mean interior humidity can linger, and a window with a poor glazing package or a thermally weak frame will show it first — fogging, sweating on the frame, or moisture staining at the sill.
Dual-pane, low-E glazing with appropriate gas fill is the baseline we build around for new construction here; triple-pane gets discussed for homes with more exposed, wind-driven elevations or specific energy goals. The glazing spec should match the wall it's going into, not just a generic order sheet.
Our Installation Process, Start to Finish
Coordinating With Your Builder or GC
On a new build, window installation has to slot into the framing and dry-in schedule without becoming the bottleneck. We coordinate rough opening dimensions and timing directly with the general contractor or builder so the openings are ready and the crew isn't waiting around — or worse, rushing to catch up.
Pre-Install Check
Before a single window goes in, we verify every rough opening for square and correct size and confirm housewrap or weather barrier is properly lapped and ready to integrate.
Installation and Flashing
Each window is set, leveled, fastened, and flashed following the sequence above — not a shortened version of it, regardless of schedule pressure.
Final Check and Documentation
We walk every opening after install to confirm flashing laps, fastening, and sealant are correct before siding crews close the wall. Catching an issue at this stage costs nothing; catching it after siding is on costs a lot more.
Why a Ferndale-Experienced Crew Matters
Anyone can hang a window. Getting the flashing sequence right for a climate that combines salt air, sideways rain, and a months-long damp season takes crews who've done it here specifically, not just windows in general. A crew used to drier inland conditions may not think twice about a fastener spec or a flashing detail that's genuinely a problem two miles from Birch Bay. We also know how to work around this region's weather windows during a build schedule — waiting out a driving-rain day rather than taping flashing onto wet sheathing, which never bonds correctly no matter how good the tape is.
Working regularly in this part of Whatcom County also means we're familiar with typical inspection expectations and how local builders sequence dry-in, siding, and trim — which keeps your project moving instead of waiting on us to catch up to speed.
A Practical Checklist Before Your Windows Go In
- Confirm whether your specification calls for nail-fin (new-construction) or block-frame windows — they are not interchangeable mid-project
- Ask what sill pan flashing method will be used and confirm it includes end dams
- Confirm fastener material — stainless or hot-dip galvanized for anything near the water
- Ask how housewrap and flashing tape lap sequence will be handled at head, jamb, and sill
- Confirm glazing package (U-factor, low-E coating, gas fill) matches your energy code climate zone
- Ask how installation timing will be handled around rain — flashing tape applied to wet sheathing is a common, avoidable failure point
If you're building new or adding on in Ferndale or anywhere around Birch Bay, we're happy to walk through your window spec and rough openings and give you a straightforward, no-pressure estimate for the installation. There's a form below to get that conversation started.