 Birch Bay Siding
 Why Lummi Island Homes Need Windows Built for This Climate
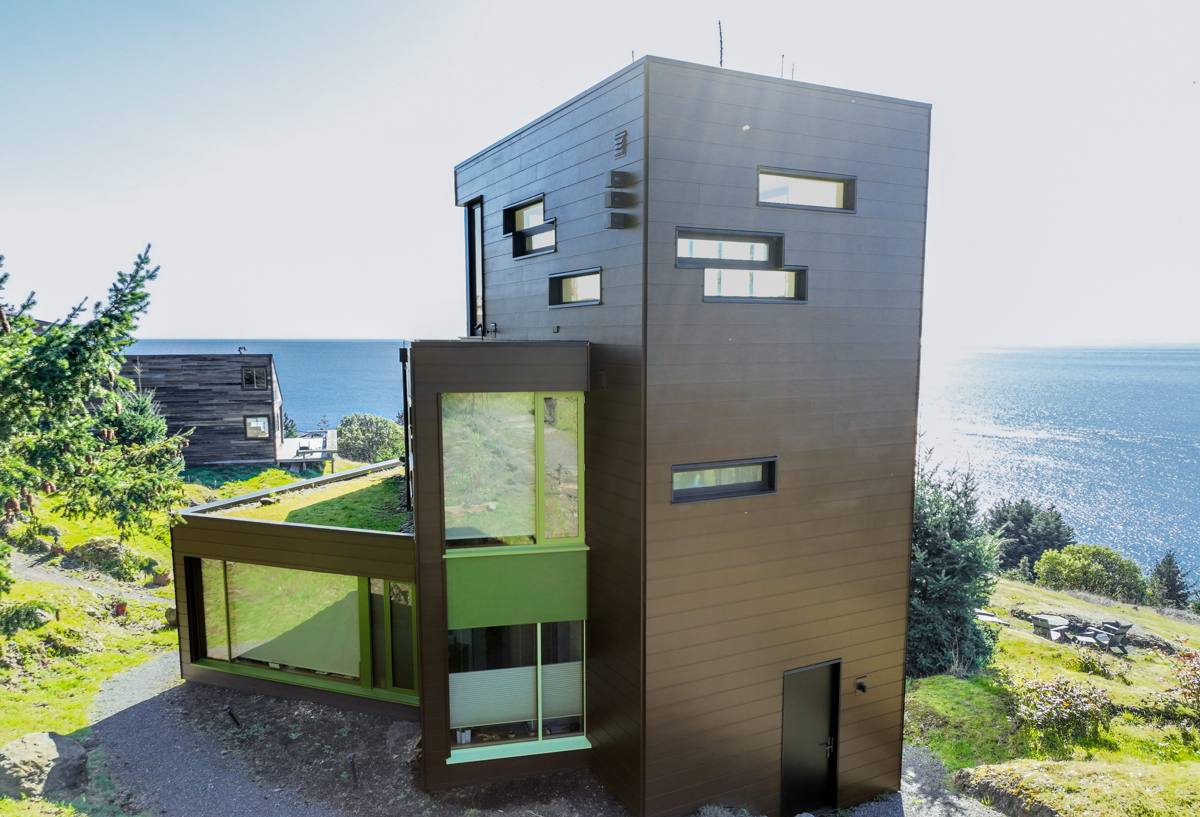
Lummi Island sits fully exposed to Puget Sound weather, and windows here work harder than they would almost anywhere inland. Between the salt air, the wind-driven rain, and a moss season that seems to stretch longer every year, a window that's merely "good enough" for a typical Whatcom County home often falls short out here. Getting window installation right on Lummi Island means understanding what the marine environment actually does to frames, seals, and glazing over time — not just swapping in new glass and hoping for the best.
Salt Air and Corrosion
Airborne salt settles on everything exposed to the outdoors, and it doesn't discriminate between siding, hardware, and window components. Aluminum fasteners, cheap cladding, and unprotected hardware corrode faster near the water. Over years, that corrosion can compromise the seal around a window long before the glass itself fails, letting moisture work its way into the wall cavity.
Wind-Driven Rain
Rain on Lummi Island rarely falls straight down. Wind off the water pushes it sideways into exposed walls, which means window flashing and sealant details matter more here than they would on a sheltered, inland lot. A window that's installed with standard flashing practices — fine in a low-exposure setting — can still leak on a west- or south-facing wall that takes the brunt of a storm.
Moss and Constant Moisture
The long wet season keeps humidity and shade-loving moss and algae active on north-facing walls and anywhere airflow is limited. Moss holds moisture against building materials far longer than open air would, and around windows that means prolonged dampness at the sill and trim — exactly where rot and seal failure tend to start.
Signs Your Windows Are Ready for Replacement
Coastal wear doesn't always show up as an obvious problem. It's often subtle for years before it becomes expensive. Homeowners on Lummi Island should watch for:
- Fogging or a hazy film between panes of double-glazed windows — a sign the seal has failed
- Soft, discolored, or spongy wood at the sill or trim
- Windows that are noticeably harder to open, close, or lock than they used to be
- Visible corrosion or chalky white residue on metal frames and hardware
- Drafts or a noticeable temperature difference near the window on windy days
- Paint or finish that's peeling faster on window trim than on the rest of the wall
Any one of these on its own isn't necessarily an emergency, but on a coastal property they tend to compound quickly. A window that's drafty today is often the one letting bulk water in during next winter's storms.
What a Correct Installation Involves (Not Just the Window)
The window unit itself is only part of the job. Most window failures we see on coastal homes trace back to installation details, not the product. A correct installation in this environment includes:
- Proper flashing integration — the window flange needs to be flashed and lapped correctly with the house wrap or weather-resistive barrier so water is directed out, not trapped behind the siding
- Sill pan flashing — a sloped, sealed pan under the window opening gives any water that does get past the frame a way out instead of pooling and soaking into the sheathing
- Marine-grade or corrosion-resistant fasteners and hardware — standard fasteners can corrode and stain finishes within a few seasons this close to the water
- Compatible, high-quality sealants — applied at the right points, not everywhere, since over-sealing can trap moisture instead of letting the assembly dry
- Correct shimming and squaring — an out-of-square window stresses the frame, wears hardware prematurely, and can compromise the seal over time
Skipping any of these doesn't usually cause a problem in year one. It shows up in year three or four, as a soft spot in the wall or a window that won't seal cleanly anymore — and by then the fix is bigger than the original installation would have been.
Choosing Frame Materials for a Marine Environment
Frame material matters more here than in a sheltered inland setting, because salt exposure and constant moisture stress every material differently. There's no single "best" choice for every home — it depends on the wall's exposure, the home's style, and budget. Here's how the common options generally hold up:
| Material | Coastal Performance | Maintenance | Trade-offs |
|---|---|---|---|
| Vinyl | Good — won't rust or rot, handles moisture well | Low; occasional cleaning | Can't be repainted; quality varies widely by manufacturer |
| Fiberglass | Very good — dimensionally stable, resists corrosion and moisture | Low | Higher upfront cost than vinyl |
| Aluminum | Fair — prone to corrosion and pitting near salt air unless well-coated | Moderate to high | We generally steer clients away from bare or poorly coated aluminum on exposed coastal walls |
| Wood / wood-clad | Fair to good with proper cladding and finish upkeep | High | Beautiful, but the exposed wood side needs regular attention to avoid rot in this climate |
We're upfront about the trade-offs of each option rather than pushing whatever's easiest to install. On a wall that takes direct wind and rain, we'll usually steer a homeowner toward vinyl or fiberglass; on a more sheltered elevation, wood-clad can make sense if the owner is willing to keep up with the finish.
Our Installation Process
The process is straightforward, but the details are where quality separates itself from a rush job.
- On-site assessment — we look at each opening individually, not just the house as a whole. Exposure, existing damage, and framing condition vary window to window.
- Removal and inspection — once the old window is out, we check the framing, sheathing, and sill for hidden rot or moisture damage before anything new goes in. Coastal homes more often have something to address here than inland homes do.
- Repair as needed — any soft framing or compromised sheathing gets addressed before the new window goes in. Installing a new window over damaged framing just hides the problem.
- Flashing and sill pan installation — built out to manage water correctly for this specific wall's exposure.
- Window installation and leveling — set square, shimmed correctly, and fastened with hardware suited to the environment.
- Sealing and finish work — interior and exterior sealant, trim, and touch-up so the opening is fully weathertight and looks finished inside and out.
- Walkthrough — we go over operation, locks, and any care specific to the material chosen.
Why Hiring a Crew That Already Works Lummi Island Matters
Lummi Island's access — including ferry scheduling for materials and crews — means a contractor unfamiliar with the island can turn a simple job into a logistics headache, with delays that leave an open wall exposed to weather longer than it should be. A crew that already works out here plans material deliveries and crew time around that reality, so the opening isn't sitting open any longer than necessary.
Familiarity with the island also means familiarity with how homes here actually age. We've seen which walls take the worst of the wind, which framing details tend to hide moisture, and which products hold up versus which ones look fine in the showroom and struggle two winters in. That's the kind of knowledge that only comes from doing this work in this specific environment, repeatedly — not from a general product catalog.
What Influences Installation Cost
Every home and opening is different, so we don't quote sight-unseen, but the main cost drivers on a coastal window job are generally:
| Factor | Why It Matters |
|---|---|
| Frame material chosen | Fiberglass and higher-end vinyl cost more upfront than builder-grade vinyl or aluminum |
| Number and size of openings | Larger or specialty-shaped windows cost more to source and install |
| Condition of existing framing | Hidden rot or water damage found during removal adds repair time before the new window goes in |
| Wall exposure | Highly exposed walls may call for more robust flashing and sealant detailing |
| Access and logistics | Ferry scheduling and material delivery timing factor into project scheduling on the island |
We give straightforward, itemized estimates so homeowners know what they're paying for and why — not a vague lump sum.
Keeping New Windows Performing Season After Season
A correctly installed window in a good material will still last longer with a little seasonal attention. On Lummi Island, we recommend:
- Rinsing frames and glass periodically to remove salt buildup, especially after storms
- Checking and clearing moss or debris from sills and tracks before it holds moisture against the frame
- Inspecting exterior caulking annually and re-sealing any cracked or shrunk sections promptly
- Operating locks and hardware a few times through the off-season so they don't seize up
- Watching for early signs of trouble — fogging, sticking, or soft trim — and addressing them before winter storms arrive
None of this takes much time, but skipping it is how a well-installed window ends up needing attention years earlier than it should.
If your Lummi Island home has windows showing their age — or you're planning ahead of the next wet season — we're happy to take a look and walk you through honest options for your specific walls and budget. Request a free, no-pressure estimate using the form below.