 Birch Bay Siding
 New-Construction Windows, Built Right the First Time
New-construction window installation is a different job than a replacement. There's no old frame to work around, no compromise flashing detail to patch into — you're setting the window into open rough openings, building the water management plane from scratch, and getting one real shot to do it correctly before siding, trim, and interior finish cover everything up. In Lynden and the rest of Whatcom County, that first shot matters more than it does in drier climates. Get the flashing sequence wrong on a new build here and you won't find out for a year or two, when the sheathing behind the window starts to show it.
We're a Birch Bay-based crew, and Lynden is regularly on our schedule. That means we already know the building conditions in this part of the county — the wind-driven rain off the water, the long stretches of damp, low-light weather that keep moss and mildew active for most of the year, and the salt-tinged air that speeds up corrosion on anything not properly rated for it. New-construction windows here need to be installed with that reality built into the sequence, not bolted on as an afterthought.
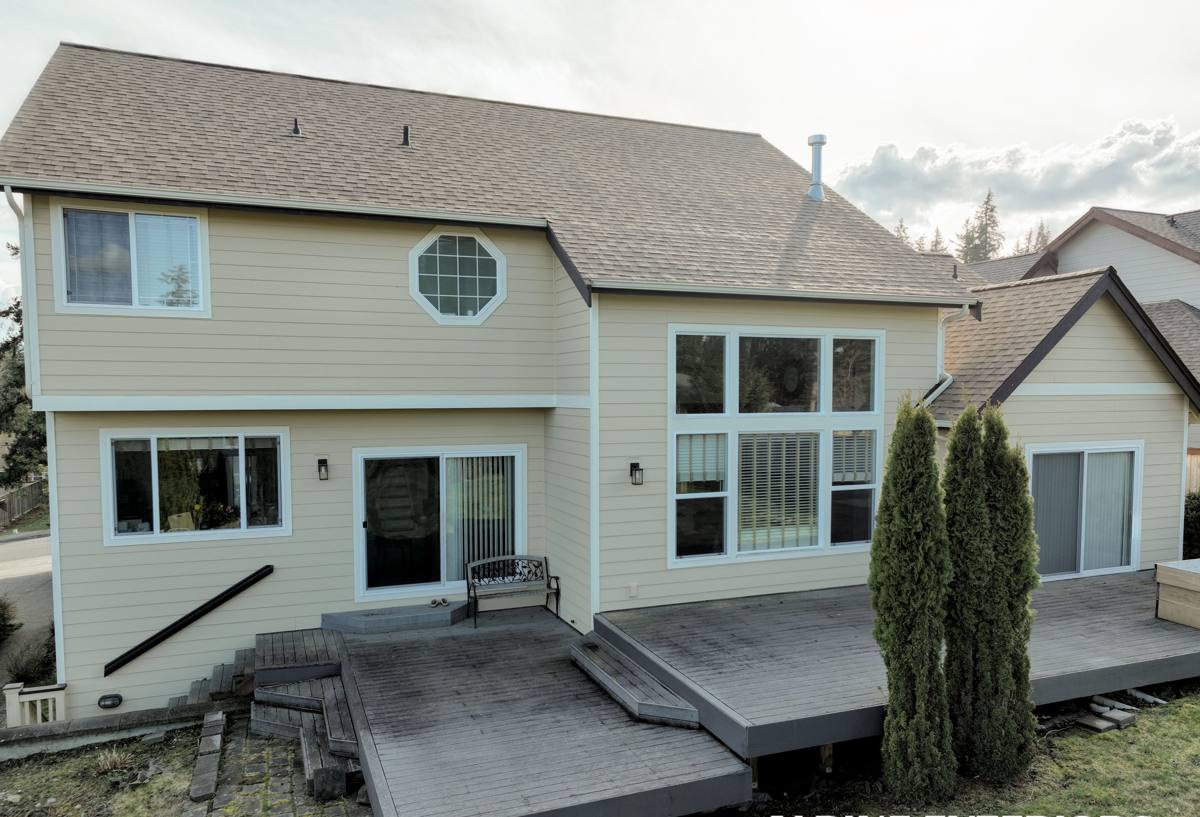
What Lynden's Climate Actually Does to a Window Opening
Lynden sits inland from Birch Bay, but it still gets the same weather systems that roll off the Strait of Georgia and Puget Sound — long wet seasons, sustained wind events, and enough overcast, moisture-saturated air to keep wood and building paper damp for weeks at a stretch. A few specific effects matter for window installation:
- Driving rain, not just falling rain — wind pushes water sideways into the wall assembly, which means flashing has to shed water outward and downward under pressure, not just by gravity.
- Extended moss and algae season — anything that stays damp for long periods (sill areas, low-slope trim caps, shaded elevations) will grow moss or mildew if it can't dry out between rain events.
- Salt-influenced air — proximity to the water accelerates corrosion on fasteners, cladding fasteners, and unprotected metal flashing.
- Wide seasonal humidity swings — framing lumber moves as it dries and re-wets, which can loosen a window that wasn't shimmed and fastened with that movement in mind.
None of this is exotic — it's standard Pacific Northwest building science. But it does mean a window install that would be fine in a dry climate can fail here within a few seasons if the water management details are skipped or rushed.
Why This Matters More on New Construction
On a replacement job, a poor seal shows up as a leak you can point to and fix. On new construction, a poor seal gets sealed behind siding, house wrap laps, and interior drywall. The problem doesn't announce itself — it shows up years later as rot in the sheathing, staining on interior trim, or a soft spot under a sill that nobody notices until the siding comes off for something unrelated. That's the real argument for doing new-construction window flashing correctly the first time: the cost of a mistake is deferred, hidden, and much more expensive to fix once it's found.
What a Correct New-Construction Window Install Involves
There's a sequence to this, and skipping steps or doing them out of order is where most water problems originate. On a new build, we're working with the rough opening before any window sits in it, which gives us full control over how water is managed at that opening for the life of the house.
The Core Sequence
- Rough opening check. Confirm the opening is square, plumb, and sized correctly with proper margin for shimming — before the window ever goes near it.
- Sill pan flashing. A sloped, sealed pan at the bottom of the opening so any water that gets past the window has a way out, instead of sitting on the sill and soaking into framing.
- Water-resistive barrier integration. House wrap or building paper is lapped and sealed around the opening in the correct shingle-style order — bottom, sides, then top — so water is always directed outward and down, never into a seam.
- Window setting and shimming. The unit is set level, plumb, and square, shimmed at the correct load points so the frame doesn't rack or bow, and fastened per the manufacturer's schedule — not "close enough."
- Flashing tape and head flashing. Self-adhered flashing at the jambs and a proper head flashing (or drip cap) above the window, integrated with the WRB so water is shed over and around the opening, not into it.
- Sealant at the right joints only. Sealant is a backup layer, not the primary defense. It goes at specific joints — not smeared everywhere, which can trap moisture instead of releasing it.
- Interior air-seal. Low-expansion foam or backer rod and sealant at the interior gap, both for energy performance and to control condensation risk at the frame.
Every one of those steps interacts with the ones before and after it. A perfect window installed with a skipped sill pan is still a leak risk. A correct sill pan under a poorly shimmed frame still lets the sash bind and fail early. It's a system, not a single component.
Choosing Windows for a Lynden New Build
Product selection matters, but it matters less than installation quality — a mid-grade window installed correctly will outperform a premium window installed poorly, every time. That said, there are real differences worth understanding when you're speccing windows for this area.
| Factor | What to Look For | Why It Matters Here |
|---|---|---|
| Frame material | Vinyl, fiberglass, or clad-wood, rated for coastal/marine conditions | Salt-influenced air and sustained moisture reward corrosion-resistant hardware and stable frame materials |
| Glazing package | Dual-pane, low-E, argon-filled as a baseline | Keeps interior surfaces warmer, which reduces condensation risk during our damp, low-light months |
| Weep system | Clear, unobstructed weep holes and a functioning drainage path | Sill areas need to actually drain, or trapped moisture becomes the seed for mold and moss growth |
| Hardware finish | Corrosion-resistant coatings on hinges, locks, and cranks | Coastal-influenced air is harder on bare or lightly coated metal over time |
| Warranty structure | Written terms that clearly separate product defects from installation issues | Protects you if something does go wrong down the line — read this before you buy |
We'll talk through options with you rather than pushing a single brand. What matters most is matching the product to the specific exposure of each opening — a window on a wind-exposed elevation deserves a different spec conversation than one tucked under an eave on a protected wall.
Why Elevation and Orientation Change the Approach
Not every window on a new build faces the same conditions. On a Lynden site, we look at each elevation separately:
- West and southwest-facing walls typically take the most direct wind-driven rain and deserve extra attention to head flashing and sealant detail.
- North-facing and heavily shaded walls dry out slower after rain, which raises the risk of moss and mildew forming around sills and trim if drainage isn't clean.
- Openings under minimal roof overhang get more direct rain exposure than those protected by a deep eave, and may warrant a more robust flashing detail even if the window product itself is identical.
This is one of the advantages of working with a crew that installs windows across this specific area regularly — we're not guessing at how a given elevation will perform, we're applying what we've seen hold up and what hasn't.
Our Process on a New-Construction Job
We work directly with builders, general contractors, or owner-builders, and we coordinate around the framing and dry-in schedule rather than working in isolation.
What to Expect
- A walkthrough of rough openings before install day, checking sizing and squareness against the window schedule.
- A clear sequence for sill pan, WRB integration, and flashing that we follow consistently across every opening on the job — no shortcuts on the windows nobody will see.
- Setting, shimming, and fastening per manufacturer specification, not a generalized approach applied to every product.
- Photos of flashing details before they're covered by siding or trim, so there's a record of what's behind the finish work.
- A final walkthrough with you or the builder before we consider the job complete.
That documentation step matters more than people expect. Once siding goes up, the flashing behind it is invisible for the life of the house unless something goes wrong. Having a record of what's there — and that it was done to spec — is worth having if a warranty question ever comes up.
Why a Local Crew Matters for This Job
New-construction window flashing isn't something you learn from a manual and get right on the first try. It's a skill built by doing it repeatedly in the actual conditions the building will face. A crew that works Birch Bay, Lynden, and the surrounding Whatcom County area regularly has already seen how these details perform through multiple wet seasons here — not in a generic climate zone, but in this one specifically, with this rainfall pattern, this wind exposure, and this humidity profile.
That local repetition is also why we're straightforward about trade-offs instead of overselling. If a particular product or detail isn't a good fit for a given elevation or exposure, we'll say so and explain why, rather than installing something we know is a poor match for the conditions and letting it become a problem later.
A Few Things Worth Checking Before You Hire Anyone
- Ask specifically how they handle sill pan flashing — a vague answer here is a red flag.
- Confirm they're following the window manufacturer's written installation instructions, not a generic method applied to every brand.
- Ask whether they document flashing details with photos before covering them with siding.
- Check that fastener and flashing materials are rated for coastal/marine exposure, not just standard interior-grade hardware.
- Get clarity on how warranty coverage is split between the product manufacturer and the installer.
If you're planning a new build or working with a builder in Lynden and want a straight answer on window selection and installation approach for your specific site, we're glad to take a look and talk through it. Reach out for a free, no-pressure estimate using the form below.