 Birch Bay Siding
 Siding Installation for Point Whitehorn's Coastal Exposure
Point Whitehorn sits on the edge of the Strait of Georgia, in the rural stretch of Whatcom County just north of Birch Bay proper. Homes out here deal with a different weather pattern than siding jobs a few miles inland — more direct wind off the water, more salt in the air, and long stretches of tree-shaded, damp ground that never fully dries out between fall and spring. Siding installation in this pocket of the county isn't just a smaller version of a Birch Bay job. It calls for different fastener choices, different attention to drainage detailing, and a crew that has actually worked this stretch of shoreline before, not just read about it.
This page covers what siding installation for a Point Whitehorn home actually involves — what the climate demands, what a correct install looks like, and how our process works from first look to final walk-through.
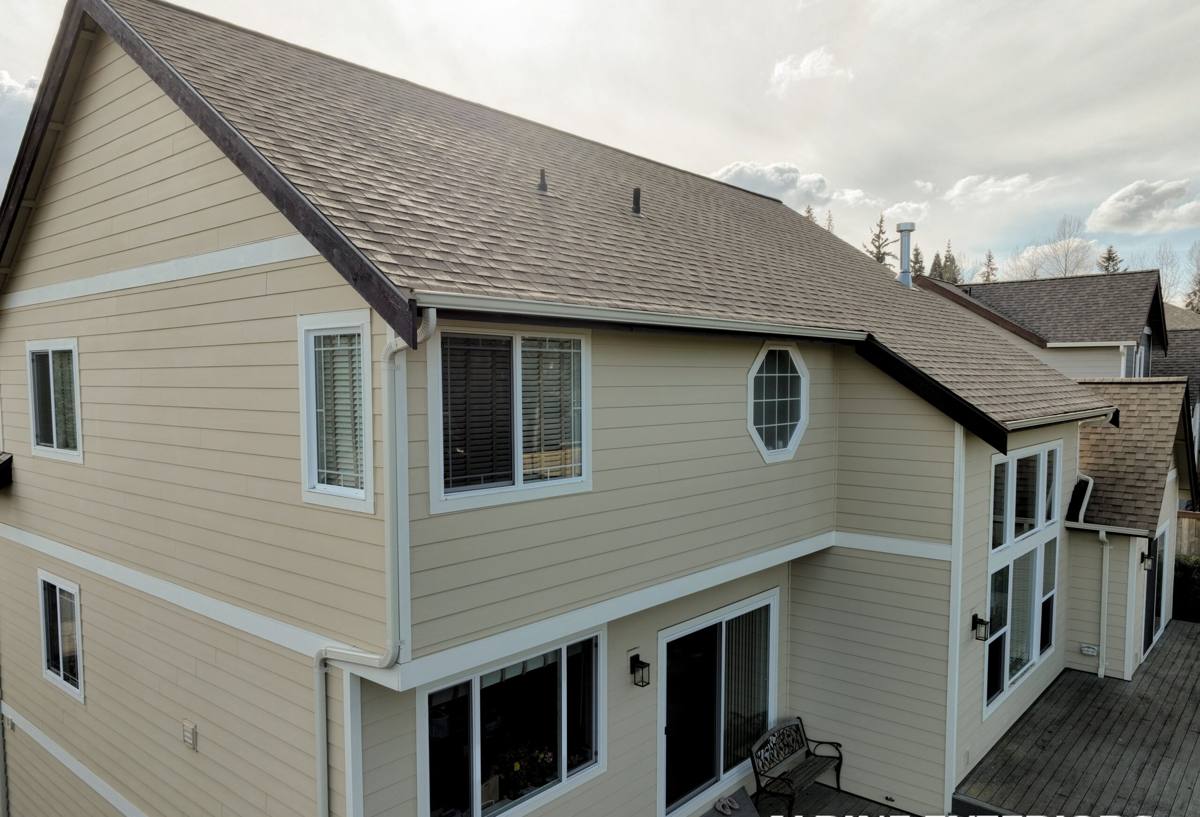
What Point Whitehorn Homes Are Up Against
Salt Air and Fastener Corrosion
Homes closer to the water take a steady, low-level dose of salt-laden air, even on days without a storm. Over years, that air works on unprotected metal — cheap fasteners, exposed trim nails, uncoated flashing — long before it does any visible damage to the siding material itself. A siding job that looks fine going in can start showing rust streaks and loosening panels within a few years if the fastening hardware wasn't chosen for a marine-influenced environment.
Driving Rain and Wind-Driven Moisture
Open exposure toward the water means wind-driven rain doesn't just fall straight down — it gets pushed sideways into wall assemblies, seams, and trim joints. Siding that relies on caulk alone to keep water out, rather than proper flashing and a drainage plane behind it, tends to fail here faster than it would on a more sheltered, inland lot. This is a climate where the water management behind the siding matters as much as the siding itself.
Moss, Shade, and Tree Cover
Many Point Whitehorn properties sit among mature trees, which means shaded north and east walls that stay damp for days after a storm passes. That combination — shade, moisture, and mild temperatures most of the year — is exactly what moss and mildew need to take hold on siding, trim, and roof edges. A siding material that absorbs moisture or has a soft factory finish will show moss growth and discoloration years before a properly finished fiber cement product will.
Why James Hardie Fiber Cement Is the Right System Here
We install James Hardie fiber cement siding exclusively — we don't install vinyl, LP SmartSide, Cemplank, Allura, primed spruce, or cedar. That's not a marketing position, it's a standard we hold because of what we've seen happen to other products in coastal Whatcom County conditions over time. Vinyl can warp and fade under UV and temperature swings and doesn't hold up well to wind-driven impact. Wood-based and engineered wood products are more sensitive to sustained moisture exposure, which is a real liability on a shaded, damp lot like many in this area. Fiber cement doesn't share those weaknesses.
Hardie's HZ5 product line is engineered specifically for wetter, harsher climates like ours — it's built to resist moisture-related damage better than the standard HZ10 formulation used in drier regions. The ColorPlus factory finish is baked on under controlled conditions and carries a stronger fade and wear warranty than field-applied paint, which matters when a wall is going to spend years collecting salt air and rain. Fiber cement is also non-combustible, which is a genuine safety advantage during the dry season when wildfire smoke and ember risk become a regional concern even out here near the water.
What a Correct Installation Involves
Drainage Plane and Rain Screen Detailing
Correct installation starts behind the siding, not at the surface. A weather-resistant barrier goes on the wall first, and on exposed or shaded walls we build in a drainage gap so any moisture that gets past the siding has a path to drain and dry out instead of sitting against the sheathing. This step is invisible once the job is done, but it's the difference between siding that lasts decades and siding that hides a rot problem behind it.
Flashing and Clearances
Every window, door, and roof-to-wall transition needs proper flashing to direct water outward and down, not behind the cladding. We also hold the siding to Hardie's specified clearances above grade, roof lines, and decks — skipping these clearances is one of the most common ways siding jobs fail early, especially on a property where ground moisture and shade already work against fast drying.
Fastening for Coastal Wind and Salt Exposure
We use fasteners rated for the exposure this location gets, driven at the pattern and depth Hardie specifies for wind resistance. Over-driven or under-driven nails are a common cause of panel cracking and loosening, particularly on walls that take direct wind load. Getting this right the first time matters more here than it does on a sheltered inland lot, because a maintenance visit to Point Whitehorn is a bigger trip than one across town.
Our Installation Process
- On-site assessment — we walk the exterior, check existing siding and sheathing condition, note shaded and exposed walls, and identify any moisture or rot issues that need to be addressed before new siding goes on.
- Tear-off and substrate check — old siding comes off and we inspect the sheathing underneath. Any soft or damaged wood gets repaired before anything new is installed; covering up an existing problem is not an option.
- Weather barrier and drainage plane — house wrap and drainage detailing go on according to the wall's exposure, with extra attention on shaded or water-facing sides.
- Flashing at all penetrations — windows, doors, vents, and roof lines get flashed before siding goes over them.
- Hardie panel or plank installation — installed to manufacturer clearances and fastening specs, with attention to consistent reveal lines and tight, properly caulked joints where required.
- Trim, caulking, and touch-up — factory-finished ColorPlus trim and touch-up product are used to keep the color-matched warranty intact.
- Final walk-through — we go over the finished job with the homeowner before calling it complete.
Cost Factors for Siding Installation Near Point Whitehorn
Every home is different, but a few things consistently move the price on a job in this area more than they would on a typical inland lot.
| Factor | Why It Matters Here |
|---|---|
| Wall exposure and shade | Shaded, damp walls may need more drainage detailing and prep work than sun-exposed walls |
| Existing sheathing condition | Moisture-damaged lots near the water more often need sheathing repair before install |
| Home size and wall complexity | More corners, trim, and roof-to-wall transitions mean more flashing and labor time |
| Access and site logistics | Rural lots, long driveways, and tree cover can affect staging and material delivery |
| Product line and finish | HZ5-rated panels and ColorPlus finish cost more than base products but hold up better in this climate |
Signs Your Point Whitehorn Home Needs New Siding
A quick visual check can tell you a lot before you ever need a contractor to climb a ladder.
- Streaking, dark stains, or moss growth that keeps coming back on shaded walls
- Soft spots, bubbling, or visible warping in existing siding panels
- Cracked or crumbling caulk lines around windows, doors, or trim
- Rust stains bleeding from fastener heads or trim edges
- Paint that's peeling or failing faster than it should on a repainted surface
- Visible gaps or separation at panel seams and corners
- A musty smell or soft drywall on interior walls that back up to exterior siding
Why a Crew That Already Works This Area Matters
Point Whitehorn isn't a dense neighborhood — it's a rural, tree-covered stretch of coastline, and that changes how a siding job gets planned and run. Material staging, site access, and weather timing all look different here than they do on a standard in-town lot. A crew that has already worked this part of Whatcom County knows which walls typically need extra drainage attention, how the shade pattern on a wooded lot affects drying time between install stages, and how to plan around the weather this close to the water instead of getting caught by it mid-job.
That local familiarity also means less guesswork and fewer surprises once the tear-off starts. We're not learning this coastline for the first time on your property — we've already seen what salt air, driving rain, and a long moss season do to siding out here, and we install accordingly from day one.
If you're planning a siding project near Point Whitehorn, we're happy to take a look and give you a straightforward, no-pressure estimate. There's a form below — reach out and we'll get a time set up to walk the property with you.