 Birch Bay Siding
 Siding Replacement for Homes Near Terrell Creek
The homes around Terrell Creek sit in one of the wetter, more moisture-exposed pockets of the Birch Bay area, close enough to the water and the creek corridor itself to pick up salt-laden marine air on top of Whatcom County's normal rainfall. That combination — salt air, driving rain, and a moss season that barely lets up — is hard on siding in a way that's easy to underestimate until you're the one standing at the base of a wall looking at soft trim boards or a finish that's chalked and faded years ahead of schedule. We do full siding replacement for homes in this area, and the approach we take here is built around what this specific climate actually does to a wall assembly over time, not a generic install process applied everywhere the same way.
This page is specifically about siding replacement — tearing off failing or aging siding and rebuilding the wall system correctly — rather than a general overview of exterior services. If your siding is past patching and you're weighing a full replacement, this is what we think you should know before you sign anything.
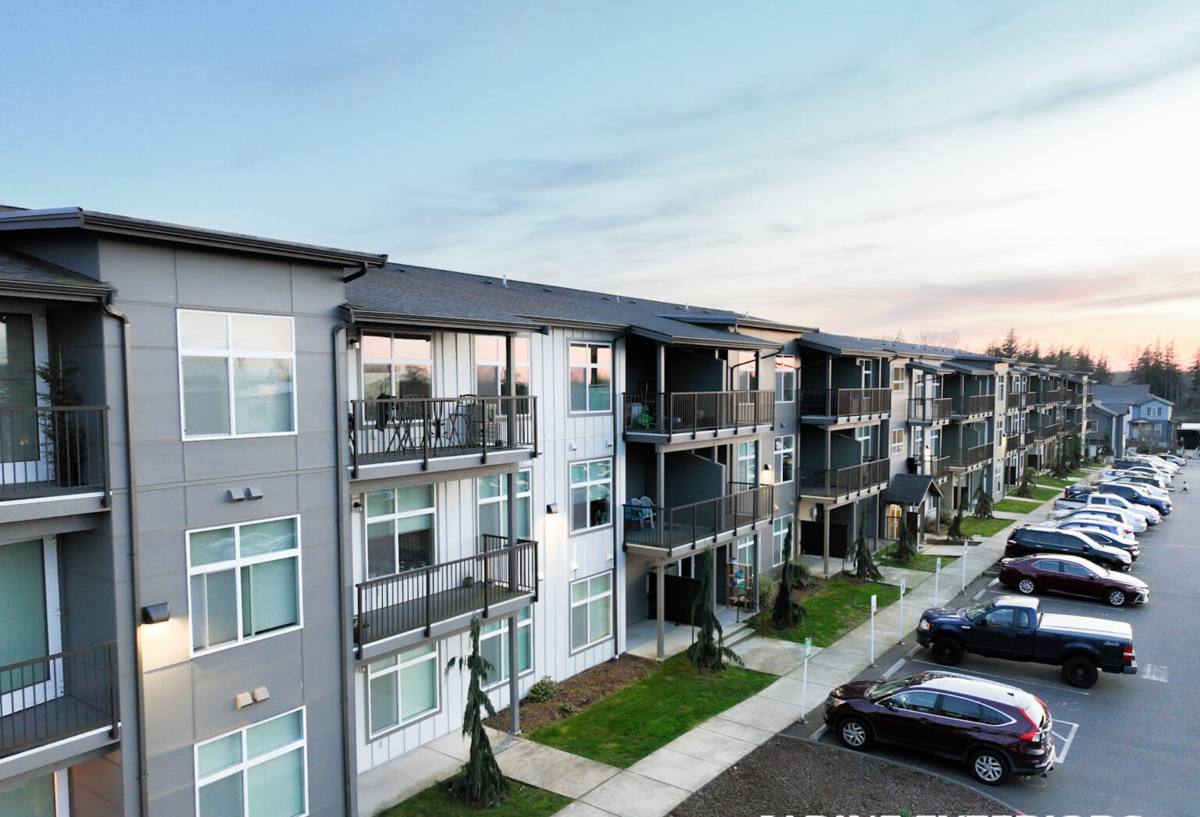
What This Climate Does to Siding Over Time
Salt Air Off the Bay
Homes near Terrell Creek and the broader Birch Bay shoreline take on more airborne salt than properties further inland in Whatcom County. Salt accelerates corrosion in fasteners, flashing, and any exposed metal trim, and it breaks down lower-grade paint and finish systems faster than a drier climate would. Over a decade or two, that shows up as chalky, faded siding, rust streaking below nail heads and trim, and caulk joints that fail well before their expected service life.
Driving, Wind-Pushed Rain
Proximity to the water also means more wind, and wind-driven rain doesn't behave like a straight-down shower — it gets pushed sideways into laps, joints, and any gap in the wall assembly. Siding and flashing details that hold up fine on a sheltered, inland lot can fail here specifically because water is arriving horizontally, not just falling from above. That's one of the main reasons a straightforward reside — replacing old panels with new ones on top of a compromised wall — often isn't enough on a property like this.
A Moss Season That Doesn't Really End
Mild temperatures, shade, and near-constant moisture add up to a moss and mildew season that runs most of the year around Terrell Creek, especially on north-facing or tree-shaded walls. Moss and mildew aren't just cosmetic — they hold moisture directly against the siding surface, and any material that's even slightly porous becomes a growth surface that keeps that wall damp far longer than it should be after a normal rain.
Signs a Terrell Creek Home Needs Full Replacement, Not Just Repair
Not every siding problem calls for a full tear-off. But in this climate, once a few of these signs show up together, patching usually just delays a bigger repair bill later.
- Soft, spongy, or crumbling siding when you press on it, especially near the bottom courses and around windows
- Paint or finish that's chalking, peeling, or fading unevenly across different walls
- Visible warping, cupping, or buckling panels, particularly on shaded or water-facing elevations
- Persistent moss or dark staining that returns quickly after cleaning
- Gaps opening at seams, corners, or trim where caulk has failed and hasn't been maintained
- Interior signs — peeling paint, soft drywall, or musty smells on exterior walls — that point to moisture already past the siding
Repair or Replace: How We Help Homeowners Decide
We don't default to recommending a full replacement just because a homeowner calls about a siding problem. The honest answer depends on how much of the wall is affected and, more importantly, on what condition the sheathing and water-resistive barrier underneath are in — because that's what a visible siding problem is often telling you about.
| Factor | Points Toward Repair | Points Toward Full Replacement |
|---|---|---|
| Extent of damage | Isolated to one wall section or a few boards | Spread across multiple elevations |
| Sheathing condition | Dry, solid wood behind the siding | Soft or discolored sheathing found at any test point |
| Age of existing siding | Well within expected service life | Already past 20-25 years or original manufacturer warranty |
| Water-resistive barrier | Intact, properly lapped house wrap | Missing, torn, or improperly installed barrier |
| Material type | Fiber cement with a localized fastener or caulk issue | Wood-based or vinyl product showing widespread moisture damage |
The only way to answer these questions honestly is to actually open up a section of wall and look, which is part of why we walk every replacement estimate with a hands-on inspection rather than a drive-by quote.
What a Correct Siding Replacement Actually Involves
Tear-Off and What's Underneath
A real replacement starts with removing the old siding down to the sheathing, not just covering over it. That step matters most in a climate like this one, because it's the only point in the project where we can actually see and address rot, soft framing, or a failed water-resistive barrier before it gets sealed behind a new wall. Skipping this step to save time is exactly how moisture problems get built into a brand-new siding job.
The Water-Resistive Barrier and Flashing
Once the sheathing is exposed and any damage repaired, a new water-resistive barrier gets installed and properly lapped — shingle-style, top over bottom — so water is directed out and down rather than behind the barrier. Flashing at windows, doors, and any roof-to-wall transitions gets tied into that barrier correctly, which is the detail that determines whether wind-driven rain off the bay stays outside the wall or finds its way in. This is where a rushed job and a correct one look identical once the siding goes back on, and it's also where problems most often start if it's done wrong.
Fastening and Finish
Correct fastener type, spacing, and depth matter as much as the siding material itself — over-driven or under-driven nails are one of the most common causes of early siding failure, and salt air makes fastener corrosion resistance especially important here. The finish is the last thing anyone sees, but it's downstream of every step before it: a wall with a compromised barrier or poor flashing will develop problems no matter how good the surface material looks on installation day.
Why We Replace Old Siding With James Hardie, Not a Cheaper Alternative
When a homeowner is already paying for a full tear-off and rebuild, the siding material itself is the one decision that determines whether that investment lasts one wet season past the warranty or several decades. That's why every full replacement we do goes back together with James Hardie fiber cement, and nothing else.
- Non-combustible core: Fiber cement doesn't feed a fire the way wood-based siding products can, which matters for both safety and, in many cases, insurance.
- Factory-applied ColorPlus finish: The color is baked on under controlled factory conditions rather than brushed on in the field, and it holds up against fading and chalking far longer than site-applied paint in a salt-air climate.
- Climate-engineered HZ product lines: Hardie's HZ5 formulation is built for regions with heavy moisture exposure and freeze-thaw cycling, which fits the Terrell Creek and Birch Bay area well.
- Dimensional stability: Fiber cement doesn't swell, cup, or warp the way engineered wood products can after repeated wetting and drying cycles.
- Strong transferable warranty: Hardie backs the product with one of the more substantial warranty structures in the industry, provided the installation follows their published specifications.
We won't install LP SmartSide, vinyl siding, Cemplank, Allura, primed spruce, or cedar as part of a replacement job. Each has a legitimate place in the market, and plenty of homeowners elsewhere are satisfied with them. But when we're the ones tearing a wall open and putting it back together, we've made a professional call that we'd rather stand behind one system completely than reinstall a product we've watched fail early in this exact climate.
Our Siding Replacement Process
- On-site inspection of the existing siding, trim, and any accessible sheathing to determine the real scope — repair, partial replacement, or full tear-off
- A clear, written estimate and scope of work before any contract is signed, with no vague allowances hiding the real cost
- Careful removal of old siding and inspection of the sheathing and framing underneath for hidden moisture damage
- Repair of any compromised sheathing or framing found during tear-off, documented and discussed with the homeowner before covering it back up
- Installation of a new, properly lapped water-resistive barrier and correctly integrated flashing at every window, door, and transition
- Installation of James Hardie fiber cement siding to manufacturer specification, including correct fastening and joint detailing
- Final walkthrough so you can see the finished work and ask questions before we consider the job done
Why Hiring a Crew That Already Works Near Terrell Creek Matters
A contractor who regularly works this stretch of Whatcom County already knows how salt exposure, wind direction, and shade patterns vary from one lot to the next around Terrell Creek, even between homes a few hundred feet apart. That familiarity shows up in the details — which elevations tend to hide moisture damage behind old siding, how flashing needs to be lapped for wind coming off the water, and which fastener grade actually holds up out here instead of just on paper. Those are the choices that separate a replacement that looks good on installation day from one that's still performing correctly fifteen years later.
Questions Worth Asking Before You Hire
- Will you fully tear off the old siding and inspect the sheathing, or install over what's there?
- What siding material do you install, and why — and is it backed by a written manufacturer warranty?
- Do you carry current Washington contractor licensing and active liability insurance?
- How do you handle water-resistive barrier and flashing detailing for wind-driven rain?
- Can I get a clear, written scope of work before signing anything?
If your siding near Terrell Creek is showing its age or you're just not sure whether repair or full replacement is the right call, we're happy to take a look and give you an honest read on what it actually needs. Reach out below for a free, no-pressure estimate.