 Birch Bay Siding
 Why Window Replacement Works Differently on Lummi Island
Lummi Island sits fully exposed to Puget Sound weather, and that changes what a window replacement job actually needs to accomplish. Homes here take on salt-laden air off the water, wind-driven rain that hits window assemblies at angles a sheltered inland home never sees, and a wet season that runs long enough for moss and algae to take hold on anything that stays damp. A window that performs fine in a protected Bellingham neighborhood can fail early on Lummi Island if it wasn't chosen and installed with that exposure in mind.
We work throughout Whatcom County, including Birch Bay, and Lummi Island is part of our regular service area. That matters because island work has its own logistics — ferry scheduling, tighter material staging, and a smaller pool of contractors who bother to plan around it. This page covers what we look at, what a correct installation involves, and how we handle the parts of the job that are specific to this location.
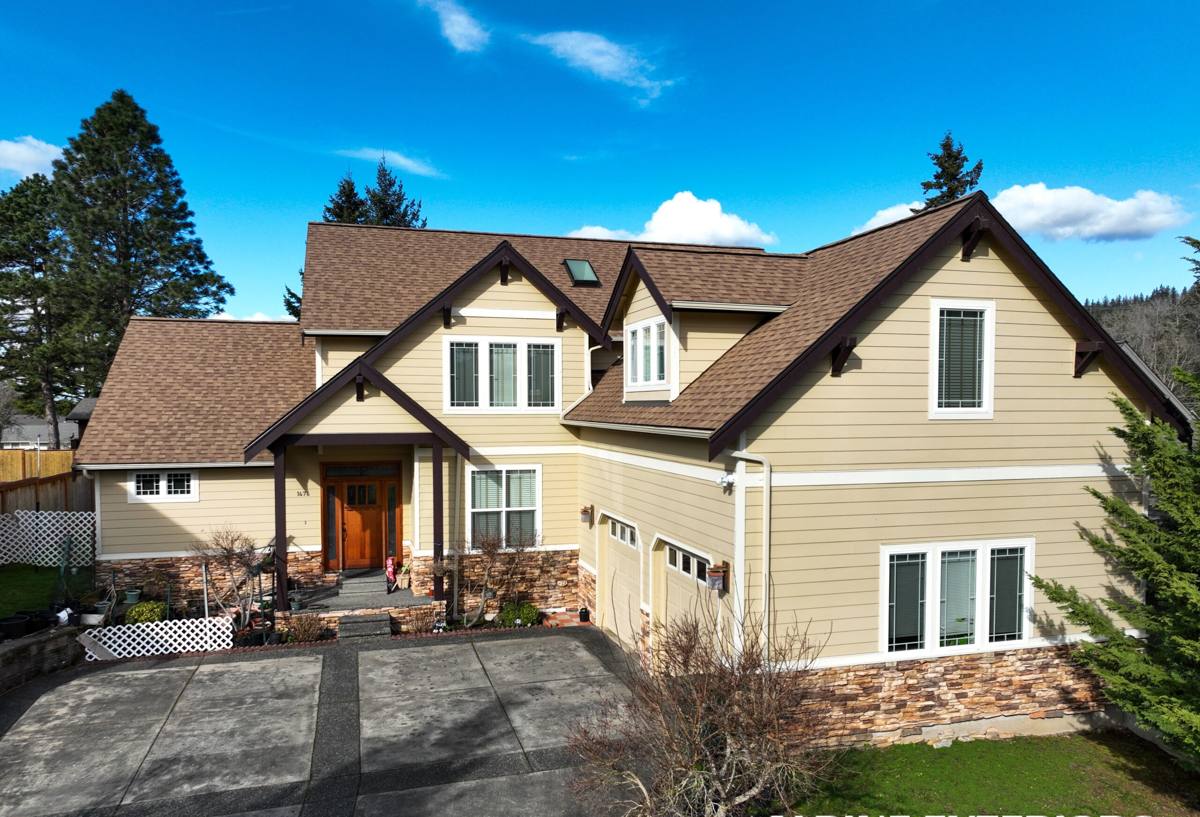
What Salt Air, Rain, and Moss Season Do to Windows
Three conditions do most of the damage to windows on Lummi Island, and they don't act alone — they compound each other over the years.
Salt Air and Corrosion
Airborne salt settles on hardware, fasteners, and metal window components. Over time it accelerates corrosion on lower-grade hinges, cranks, and locks, and it can pit unprotected aluminum. This is a slow process, which is exactly why it gets missed — a window can look fine for years while its hardware quietly degrades underneath.
Driving Rain and Wind Pressure
Storms off the Sound don't just drop rain straight down; wind pushes it sideways and up under trim and sills. A window with marginal flashing or a weak seal might handle a light inland rain without issue and still leak during a real Sound storm, because the water is being forced into gaps rather than running off them.
Moss and Sustained Moisture
Whatcom County's wet season runs long, and shaded or north-facing walls on Lummi Island can stay damp for weeks at a stretch. That's ideal moss and algae growth conditions. On window assemblies, sustained moisture against wood trim, sills, or improperly sealed frames leads to rot and finish failure well before the glass or hardware itself would ever wear out.
Choosing the Right Window for an Island Climate
There's no single "best" window for every home — the right choice depends on your home's exposure, your budget, and how much upkeep you want to take on. What we won't do is recommend a product based on price alone without being honest about the maintenance trade-off that comes with it in a marine environment.
Frame Material Options
| Frame Material | How It Handles This Climate | Trade-Off to Know |
|---|---|---|
| Vinyl | Good corrosion resistance, no repainting, holds up well against salt air | Lower-end vinyl can warp with big temperature swings; quality varies a lot by manufacturer |
| Fiberglass | Very stable dimensionally, strong resistance to moisture and salt exposure | Higher upfront cost than vinyl |
| Wood-clad | Classic look, works well if detailed and maintained correctly | Any gap in the cladding or finish invites rot faster here than inland; needs more attentive upkeep |
| Bare aluminum | Strong structurally | Prone to pitting and corrosion in salt air unless it has a quality protective finish — we're selective about specifying this on exposed elevations |
Glass and Weatherstripping
Beyond the frame, two details matter more here than in a typical sheltered install. First, weatherstripping quality — cheaper compression seals lose their shape faster under repeated wind-driven rain cycling than a well-engineered dual-seal system. Second, glass package: a good low-E, argon-filled double or triple pane helps with condensation control, which matters when you're dealing with a home that already fights moisture from the outside.
What a Correct Installation Involves
The window product only does half the job. The other half is installation detail, and on an exposed island site, sloppy flashing or sealing shows up as a leak much faster than it would somewhere protected.
Flashing and Water Management
Every opening needs a proper flashing sequence — sill pan, side flashing, and head flashing installed in the correct shingle-lap order so water is directed out and down, never trapped behind the siding or wicked into the wall assembly. This is the single most common thing we find done wrong on older or lower-budget replacements, and it's the detail most responsible for hidden rot behind trim.
Sealing and Insulation
Around the frame perimeter, we use a backer rod and sealant approach rather than relying on foam alone to fill gaps, since foam without a proper sealant layer can still let wind-driven moisture through over time. Interior air sealing matters too — a well-sealed window reduces both drafts and the condensation risk that comes from warm indoor air meeting a cold glass surface in winter.
Trim and Exterior Finish
Whatever trim material surrounds the new window needs a finish and detailing that sheds water rather than holding it, especially on shaded elevations where moss and algae get a foothold. This is also the point where we make sure caulk lines and paint or stain are actually maintainable going forward, not just clean on install day.
Our Process for Lummi Island Projects
Scheduling and Ferry Logistics
Lummi Island is reached by ferry, which means a window job here isn't run the same way as one five minutes from our shop. We plan material deliveries and crew trips around ferry timing so we're not making multiple wasted crossings, and we typically batch tasks — measuring, ordering, and installation day — to minimize disruption and keep the schedule realistic. This is one of the practical reasons it helps to hire a crew that already works the island regularly instead of one quoting the job without having accounted for access at all.
On-Site Work
On install day, we protect interior finishes, remove the old window and inspect the rough opening for hidden rot or water damage before anything new goes in — this inspection step is non-negotiable, because installing a new window into a compromised opening just hides a bigger problem. Once the opening is confirmed sound (or repaired if it's not), we set the new unit, flash and seal it correctly, insulate the gap, and finish the interior and exterior trim.
Cleanup and Walkthrough
We haul away old windows and debris and walk the finished openings with you before we consider the job done, checking operation, seals, and finish work together.
Signs Your Windows May Need Replacing
Not every window issue means full replacement — sometimes it's a hardware fix or a re-seal. These are the signs worth having looked at:
- Visible moss, algae, or persistent black staining on the sill or surrounding trim
- Fogging or condensation between panes, which means a failed seal on double or triple-glazed units
- Drafts you can feel around the frame even when the window is fully latched
- Wood trim or sills that feel soft, spongy, or show paint bubbling
- Hardware — cranks, locks, hinges — that's stiff, corroded, or hard to operate
- Visible daylight or gaps between the frame and the surrounding wall
- Water staining on interior drywall or trim below or beside a window
What Affects the Cost
Every job is different, and we'd rather walk your specific windows than quote blind, but the main cost drivers on a Lummi Island project are consistent:
| Factor | Why It Moves the Price |
|---|---|
| Frame material chosen | Vinyl, fiberglass, and wood-clad all sit at different price points before labor |
| Number and size of openings | More or larger windows means more material and labor time |
| Condition of the rough opening | Hidden rot or water damage found during removal adds repair work before the new window goes in |
| Access and site logistics | Ferry-dependent scheduling and material staging factor into island jobs |
| Trim and exterior finish scope | Full trim replacement costs more than reusing sound existing trim |
Why a Crew That Already Works Lummi Island Matters
A window replacement done by someone unfamiliar with island exposure can look identical to a correctly done one — right up until the first real Sound storm finds the weak point. Contractors who don't regularly work marine-exposed sites in Whatcom County sometimes default to standard inland detailing: less attention to flashing sequence, weatherstripping grade, or hardware corrosion resistance, because it's simply not the problem they usually solve. We treat those details as standard here, not upgrades, because that's what holds up against salt air and driving rain over time.
There's also the practical side. A crew that already accounts for ferry scheduling and site access won't surprise you with delays or rushed work to make a crossing. That familiarity translates directly into a smoother project.
Maintaining New Windows in a Marine Climate
Even a well-installed window benefits from a little upkeep in this environment. Rinse salt residue off exterior surfaces and hardware periodically, especially after storms. Keep an eye on shaded or north-facing sills for early moss growth and clear it before it spreads to the finish underneath. Operate cranks and locks a few times a year so hardware doesn't seize from corrosion, and check caulk lines annually — a small gap caught early is a five-minute fix, while one left through a wet season can turn into a trim repair.
If you're weighing window replacement for a Lummi Island home, we're happy to take a look and give you a straightforward, no-pressure estimate — just fill out the form below.