 Birch Bay Siding
 Building New in Point Roberts Means Building for Salt Air and Rain
Point Roberts sits on its own peninsula, surrounded by water on three sides, which means every new home built there takes weather from directions most Whatcom County builders don't have to think about as much. Salt-laden air off Boundary Bay and the Strait of Georgia, wind-driven rain that comes in sideways off the water, and long stretches of damp, shaded ground that never fully dries out in winter — all of it lands directly on your windows before it lands on anything else. New-construction window work is the one part of the build where getting it right the first time matters more than almost any other trade, because once the siding and trim go on, the flashing and sill details underneath are buried for good.
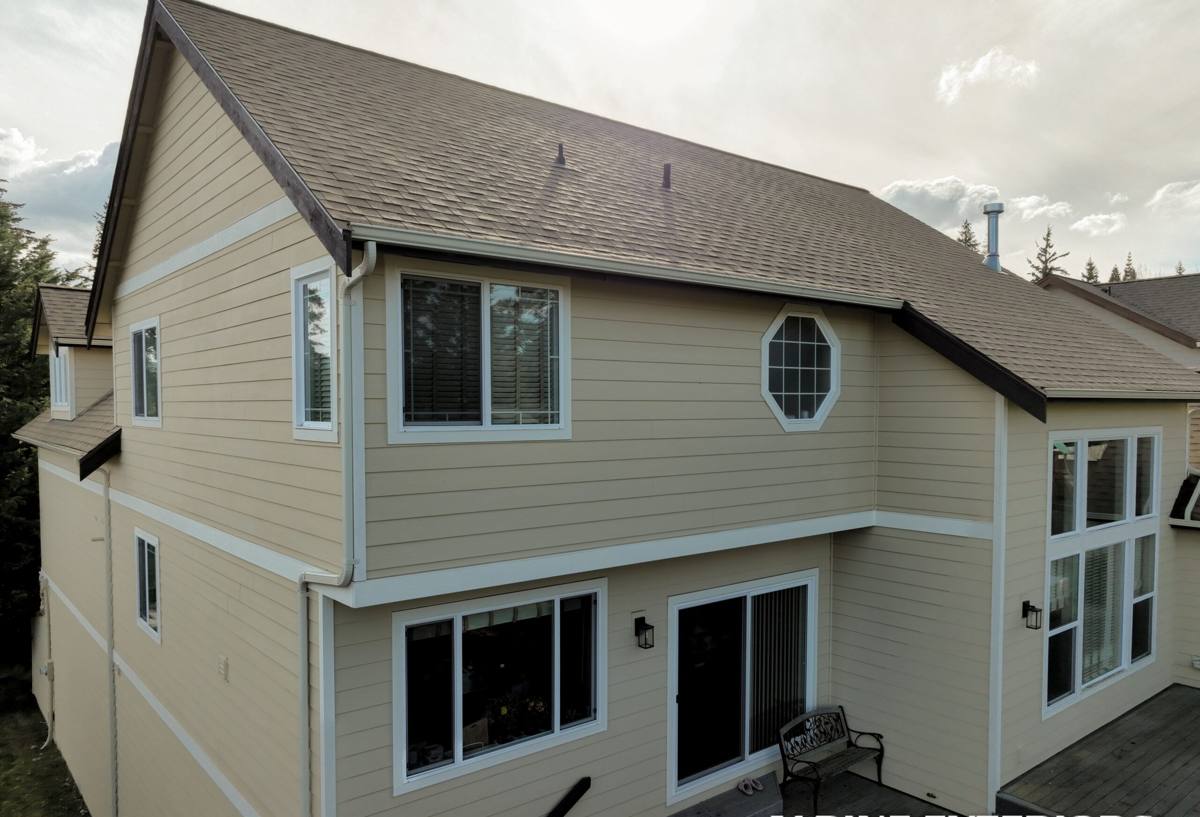
We install new-construction windows for homes going up in Point Roberts and elsewhere around Birch Bay, and we treat this stretch of coastline differently than a typical inland Whatcom County lot. This page walks through what the climate actually does to a window assembly, what a correct install looks like at the framing stage, and why the crew doing that work needs to already understand this specific piece of coastline.
What This Coastline Actually Does to a Window Over Time
Salt Air and Corrosion
Homes near the water pick up airborne salt that settles on hardware, fasteners, and metal cladding. Over years, that salt accelerates corrosion on anything that isn't rated for a marine or near-marine environment — cheap fasteners rust, unprotected aluminum pits and stains, and window hardware that isn't corrosion-resistant can seize or discolor well before the rest of the house shows its age.
Driving Rain, Not Just Rain
Point Roberts gets its share of straight-down Pacific Northwest drizzle, but the bigger issue is wind-driven rain during winter storms — rain pushed horizontally against the wall and forced into any gap in the water management layer. A window that's watertight in calm rain can still leak under wind pressure if the flashing details behind the trim aren't built to handle it.
Moss, Shade, and Standing Dampness
Many lots here carry heavy tree cover and stay shaded and damp for long stretches, especially on north-facing walls. That's the same condition that grows moss on roofs and siding, and it does the same thing at window sills and trim if water isn't shed away from the frame — sustained moisture against wood trim or an improperly sloped sill invites rot, mildew, and moss growth right at the window opening.
Choosing the Right Window for a New Build Here
There's no single "best" window brand — the frame material and the installation detail matter more than the label. For a new build this close to the water, we walk homeowners and builders through the trade-offs honestly rather than pushing one product line.
| Frame Material | Salt-Air/Corrosion Behavior | Moisture Behavior | Maintenance |
|---|---|---|---|
| Vinyl | Does not corrode; hardware is the main concern | Handles damp exposure well, no finish to fail | Low — occasional cleaning |
| Fiberglass | Excellent — inert to salt and moisture | Very stable, minimal expansion/contraction | Low |
| Aluminum-clad wood | Cladding can pit or corrode near the coast if lower-grade or nicked during install | Wood core needs the cladding and seals to stay intact | Moderate — depends on cladding grade |
| Full aluminum (uncoated/older-style) | Prone to corrosion and pitting in salt air over time | Conducts cold and can condensate more in a wet climate | Higher |
We generally steer new construction in this area toward vinyl or fiberglass frames with stainless or corrosion-rated hardware, not because other materials can't perform, but because they hold up with the least maintenance in a salt-air, high-moisture setting. If a homeowner wants a wood-look or clad product for appearance, we'll say so plainly and talk through what extra care that choice requires near the water — that's a professional trade-off conversation, not a sales pitch.
Where New-Construction Windows Actually Succeed or Fail: The Flashing Detail
On a new build, the window itself is rarely what fails first — the water management system built around it is. This is the part of the job that's invisible once the siding goes on, and it's where corners get cut on rushed builds.
- Sill pan flashing installed under every rough opening, sloped to drain outward, before the window ever goes in
- A back dam at the interior edge of the sill pan so any water that gets past the window still drains outward, not into the wall
- Weather-resistive barrier (WRB) integrated with the window flange in the correct shingle-lap order — head flashing over the WRB, side and sill flashing under it
- Self-adhered flashing tape at all four corners, lapped correctly so water sheds down and out, never into a seam
- A continuous bead of quality sealant at the frame-to-rough-opening gap, backed by backer rod where the gap is too wide for sealant alone
- Shims placed only at structural load points, not blocking the drainage path at the sill
- Interior air sealing with low-expansion foam or backer rod, separate from the exterior water seal
Every one of these steps takes minutes longer than skipping it. On a coastline that sees regular wind-driven rain, skipping any one of them is how a brand-new window ends up with rot inside the wall cavity within a few years — long before anyone would expect a "new" window to have a problem.
Our New-Construction Window Process
We work directly with builders and general contractors on new Point Roberts homes, which means our install has to fit into the framing and dry-in schedule rather than run on its own timeline.
- Rough opening review — we check every opening against the actual window schedule before install day, catching sizing or squareness issues while they're still cheap to fix.
- Sill pan and flashing install — done before the window is set, using flashing tape and sealants rated for our climate, not just whatever's on hand.
- Window setting and leveling — shimmed, squared, and fastened per the manufacturer's instructions, since fastening pattern affects both structural performance and warranty coverage.
- Head, side, and sill flashing integration with the WRB — lapped in the correct order so the whole wall assembly sheds water as one system, not window and siding as two separate problems.
- Exterior and interior sealing — air sealing and water sealing treated as two separate jobs, because a good air seal is not automatically a good water seal.
- Final walk-through with the builder — checking operation, sightlines, and flashing coverage before siding crews close the wall up for good.
Energy Performance for This Climate
Washington's energy code sets minimum performance requirements for new construction, and for a coastal Whatcom County build we usually recommend landing at or above those minimums rather than right at the line, given the wind exposure. Two ratings matter most:
- U-factor — measures how well the window resists heat loss; lower is better for our winters, and it matters more here given the wind chill off the water.
- Solar Heat Gain Coefficient (SHGC) — measures how much solar heat passes through; less critical on our mostly overcast coastline than it would be in a sunnier climate, but still worth matching to the home's orientation.
We'll pull the actual NFRC label numbers for whatever product a homeowner or builder is considering and explain what they mean for that specific house, rather than quoting generic marketing figures.
Why Hiring a Crew That Already Works Point Roberts Matters
Point Roberts is a pene-exclave — the only land route in and out runs through Canadian border crossings, since it isn't connected to the rest of Washington by road. That affects a construction schedule in ways that don't show up on an inland Whatcom County job: material deliveries have to be timed around border crossings, crew schedules need buffer for wait times, and permitting still runs through Whatcom County even though the community feels physically separate from it. A crew that hasn't built here before often underestimates this and either shows up late or scrambles the sequencing with the framer and siding crew. We've coordinated new-construction window installs here enough times to plan around it instead of getting surprised by it.
Common Mistakes We See on New Builds Near the Water
| Mistake | Why It Causes Problems Here |
|---|---|
| Skipping or shortcutting the sill pan | Wind-driven rain finds the gap, and there's no drainage path to send it back out |
| Using standard fasteners instead of corrosion-rated hardware | Salt air corrodes standard fasteners faster, weakening the fastening over time |
| Sealing the interior before the exterior flashing is finished | Traps moisture inside the wall cavity where it can't dry out or drain |
| Installing windows before the WRB is properly lapped | Breaks the shingle-lap drainage plane, letting water track behind the siding |
| Choosing trim material without a moisture plan for shaded, damp elevations | Feeds the same conditions that grow moss and mildew right at the window |
A Simple Maintenance Checklist for the Homeowner
Once the build is finished, a little seasonal attention keeps a well-installed window performing for decades in this climate:
- Rinse salt residue off frames and glass a few times a year, especially on water-facing elevations
- Check exterior caulking annually for cracking or gaps, particularly after winter storms
- Clear moss or debris from sills and drainage weep holes on shaded sides of the house
- Operate and lubricate hardware periodically so it doesn't seize from disuse or corrosion
- Watch for peeling paint or soft trim near window corners — an early sign water is getting past the seal
If you're building new in Point Roberts and want the window package done right from the framing stage forward, we're happy to walk the plans, talk through frame options for this specific site, and give you a straightforward, no-pressure estimate — just fill out the form below.